CarPlay Screen for Car Display Upgrades | Leadsign

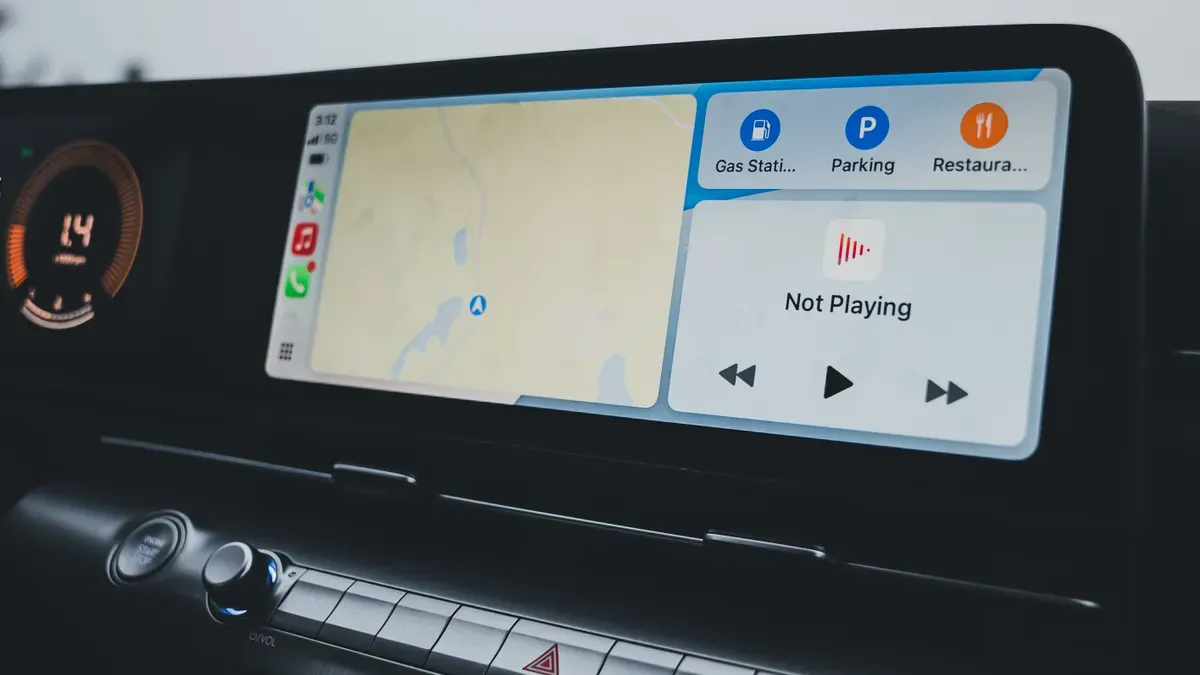
You can quickly upgrade any vehicle with modern dashboard technology. Drivers usually buy a portable CarPlay screen for car mounting or choose a built-in head unit. Portable units attach to dashboards without complex tools. Built-in receivers replace factory radios safely and connect right to the speakers. Built-in CarPlay offers key features like voice control and navigation.
Checking dashboard fit ensures a perfect match. Choosing a clear screen makes it easier to see while driving. This simple guide helps you start your CarPlay installation smoothly. We explain wiring setup, easy installation methods, fixing connection problems, and labor costs. Enjoy easy CarPlay integration today.
Key Takeaways
Drivers can choose portable screens or built-in units to upgrade any vehicle easily.
Wired connections reliably charge your battery, while wireless setups remove messy dashboard cords.
Disconnecting the vehicle battery before using plastic tools stops harmful electric shocks and protects the dashboard from scratches.
Fixing loose ground wires and updating your phone's software stops sound noise and sudden disconnections.
Putting in a CarPlay screen gives you easy-to-read directions, safe voice controls, and modern music streaming.
Vehicle Compatibility for Your CarPlay Screen
Before buying parts, check your vehicle make, model, and year. Car makers use different dashboard shapes and wiring rules for every model year. Confirming carplay compatibility helps you pick the right equipment for any setup. You avoid costly return fees by checking dash sizes and trim panels first.
Putting apple carplay into an older car takes specific mounting measurements. You need to measure the open space in your dashboard slot. Modern carplay units use two common sizes named Single DIN and Double DIN. Measuring this opening ensures your new screen sits flat against the trim.
Assessing Single DIN vs. Double DIN Dashboard Openings
Single DIN slots are two inches tall and seven inches wide. Double DIN slots are four inches tall and seven inches wide. You can fit a large touch screen inside a Double DIN space easily. Some smaller stereos use pop-out screens to offer modern touch controls in tiny spaces.
Check the area behind your stereo wiring harness very carefully. Deep dashboard spaces hold thick wire bundles and aftermarket carplay receivers easily. Shallow spaces need slim digital media receivers without heavy CD players. Checking overall depth keeps your dash smooth and protects delicate wire connections.
Portable CarPlay Screen for Car Options vs. Head Units
Picking a portable carplay screen for car mounting saves at least $200 over a full head unit replacement.
A portable carplay screen for car mounting sticks right to your windshield or dash with a strong suction cup. You power this separate device by plugging it into a standard twelve-volt power outlet. This design removes the need for complicated dashboard modifications completely. Portable CarPlay displays cost $100–$300, making them a budget-friendly option for drivers.
Built-in head units replace original stereos completely for a sleek, factory appearance. However, professional in-dash head unit installation total cost ranges from $245–$780+. Aftermarket head units with professional setup can cost $500–$1,500. Consider your overall budget and repair skills before picking a permanent screen upgrade.
Essential CarPlay Features and Specifications
Wired vs. Wireless Apple CarPlay Performance
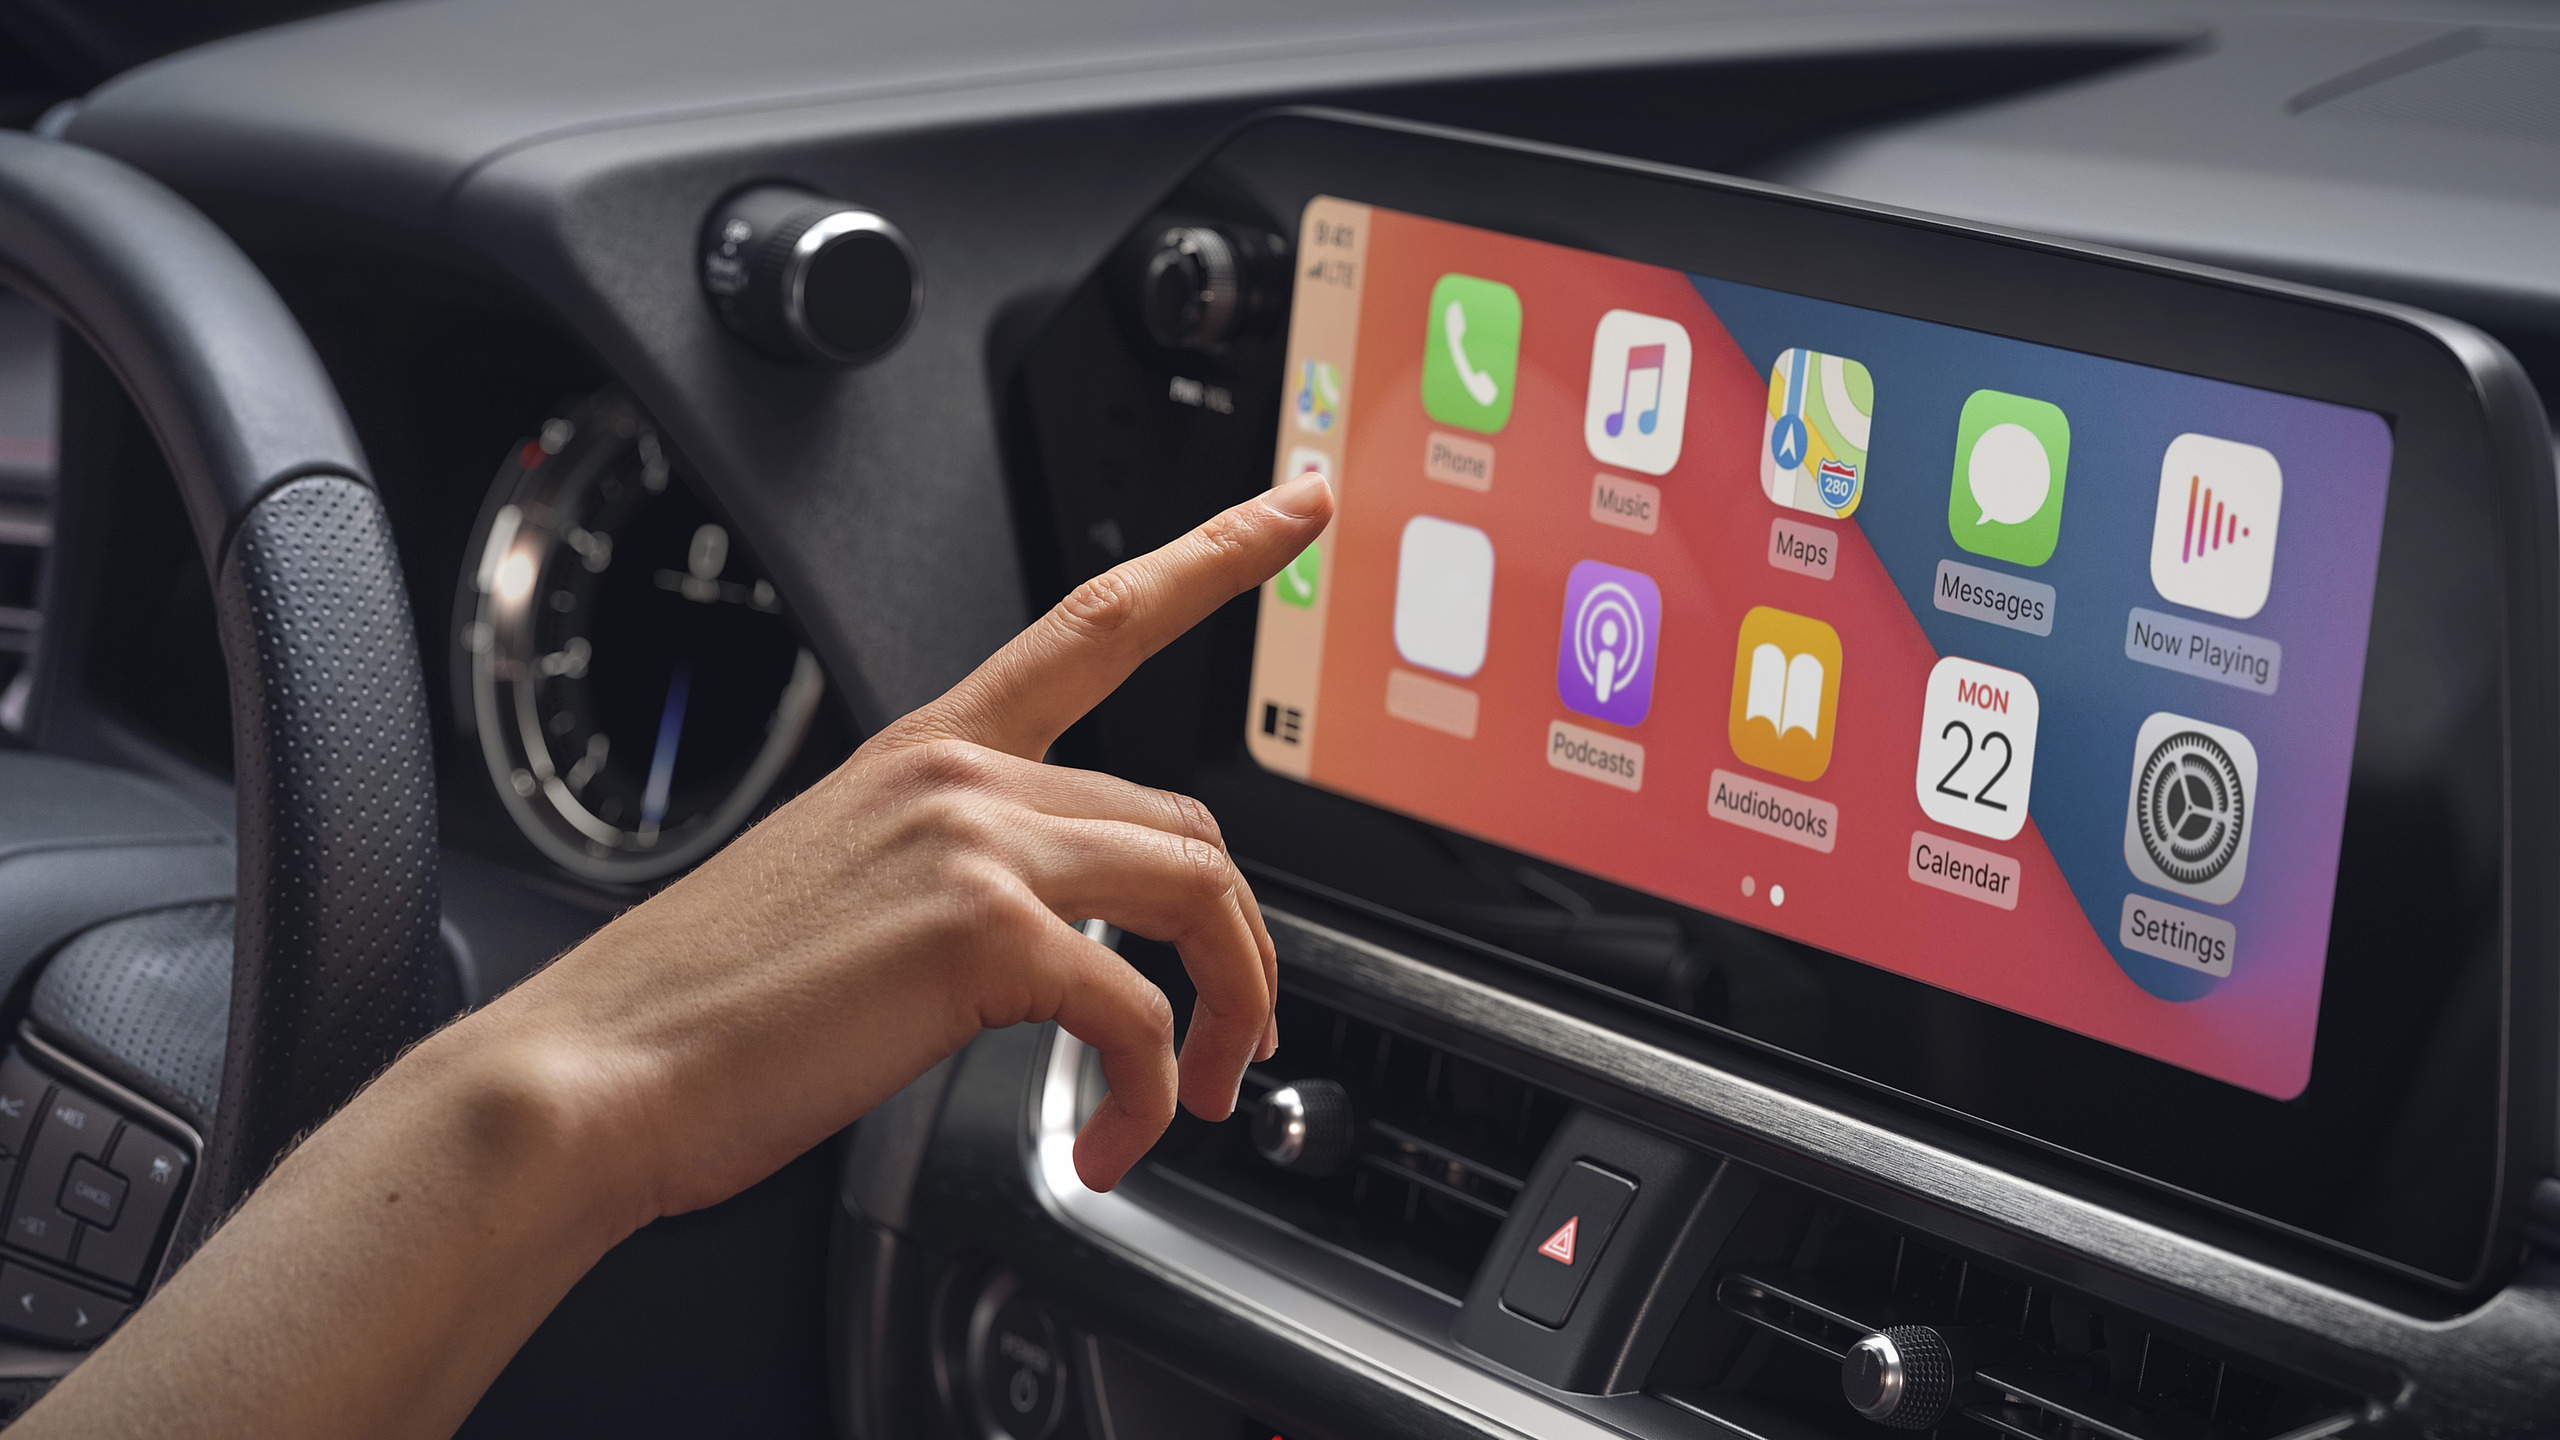
Picking top carplay features unlocks modern driving tools. A wired carplay setup uses a real cord to link iphone devices straight to your dash unit. This USB connection delivers steady data flow with no sound delays during playback. The physical wire charges your phone battery constantly while running heavy apps like turn-by-turn gps navigation on the primary screen.
Wireless options remove messy cords near your gear shifter. The system links using Bluetooth initial setup and sends big files over a private local Wi-Fi connection. You get automatic wireless syncing each time you enter your car cabin. Still, active wireless data processing uses extra mobile phone battery power during long trips.
Audio Connectivity, Backup Cameras, and Display Orientation
Aftermarket carplay units support flexible wired and wireless sound setups for your car. RCA output uses basic round push-in plugs to send clean low-level sound signals from the receiver to an outside amplifier or equalizer. Although wireless carplay relies on Wi-Fi for primary sound transfer, separate Bluetooth audio streaming uses specific audio codecs to send signals from your phone to the system.
Codec | Availability Level |
|---|---|
SBC | Universal availability |
AAC | Common (especially iPhone) |
aptX | Fairly common |
aptX HD / aptX Adaptive | Limited availability |
LDAC | Rare |
LC3 | Emerging |
Safety options improve your daily driving routine a lot. Built-in backup camera ports on your carplay unit instantly switch the screen view to full rear camera video when you put your car into reverse gear. Drivers can also adjust mounting brackets to set up the system in portrait or landscape view depending on dash space.
Connecting iphone to carplay makes daily navigation and hands-free calls simple. You keep full attention on driving by controlling tunes, phone calls, and map routes with easy voice commands. Picking a sturdy carplay screen for car mounting updates your older vehicle right away. Big perks of using apple carplay include instant smartphone connection, sharp touchscreen controls, and reliable real-time navigation access.
Step-by-Step Apple CarPlay Installation Guide
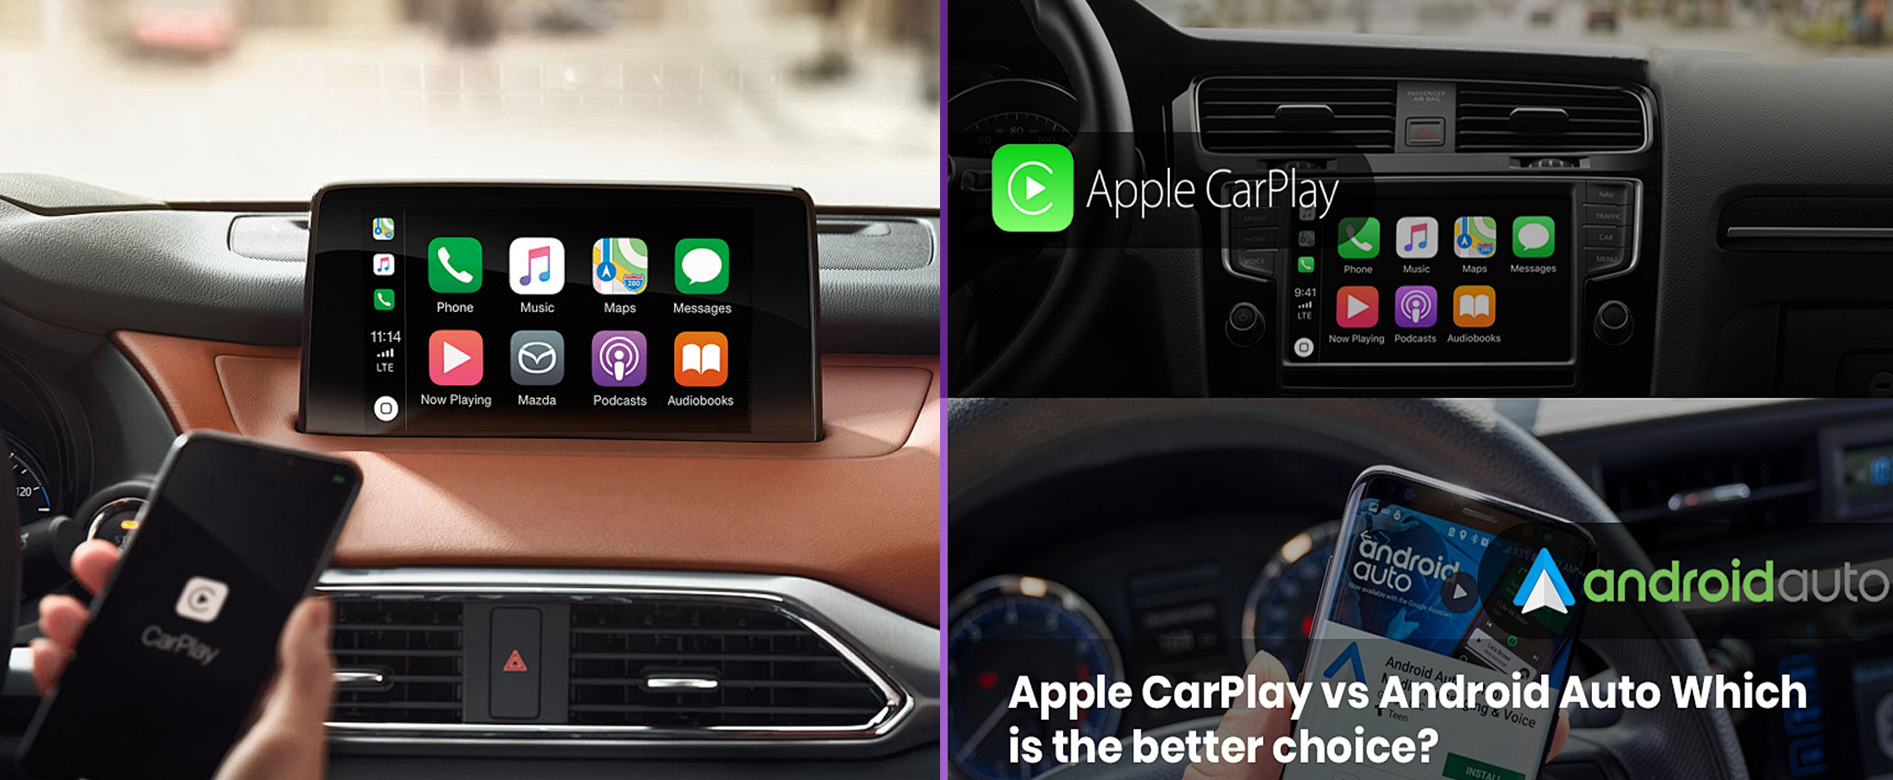
You can set up Apple CarPlay at home using standard hand tools. Preparing a clean work spot ensures a safe process. Start by shutting off your engine completely. Unhook the negative battery cable so you do not shock your dash parts. Handle new CarPlay receiver units carefully as you work.
Essential Tools and Dashboard Removal Procedures
You need soft plastic levers to pop off interior trim parts safely. Metal tools can easily scratch smooth dashboard surfaces. Setting up a CarPlay system requires proper panel tools. Choose your equipment based on how big your job is:
Basic 5-piece kit: This $7.99 set gives you basic panel levers for quick dashboard tasks.
Comprehensive 200-piece kit: This $26.99 set offers panel tools, picks, clips, fasteners, and scrapers for big interior projects.
Pry underneath the outer edge of your radio trim ring with a plastic tool. Gently pop the plastic clips loose around your center console. Put every loose screw into a tiny cup so you do not lose them. Pull the old radio straight out from the dash opening. Unplug the main factory wire plugs and antenna cord from the back side. Remove the CarPlay display housing carefully.
Wiring Harness Connection and Initial System Testing
Next, you start the main CarPlay setup tasks. Pair matching wire colors from your custom car adapter to the new radio harness. Twist these matching wire tips together tightly. Cover the open wire tips using plastic crimp caps or shrink sleeves to block short circuits. Good wire work keeps your CarPlay setup running well.
Check your power lines with a digital meter before locking the stereo into the dash. Set your meter to 20 V or 60 V DC mode to read terminal power, since cars run on 12 V DC. You can also pick 60 V DC mode to test total battery power directly. Touch your black meter pin against bare frame metal. Put the red pin on the hot power wire to make sure power flows to the CarPlay head unit. Checking power wires prevents annoying electrical problems.
You can set up CarPlay through two different power paths. In-dash units plug right into the main factory wires inside the dash. Portable CarPlay screens get power from a basic 12-volt plug on your center console. Hide extra power cords behind plastic panel edges so your cabin stays tidy. A clean layout keeps your console neat.
Reattach your battery cable to run a fast test before shutting the dash panel. Turn your car key to the accessory spot. Your CarPlay screen ought to light up right away with a bright picture. Check the touchscreen buttons, speaker sound, radio stations, and backup camera feed. Shut off the car after you check that everything works. Push the radio into the metal dash frame. Tighten all mounting screws securely. Snap the trim bezel back down until the plastic latches click into place. Following these steps helps you install CarPlay with ease. Taking your time during setup protects your display for long-term use. Installing a new CarPlay setup upgrades your car cabin right away. Enjoy smooth CarPlay links and easy turn-by-turn routes on every drive. A good CarPlay display makes driving fun.
Troubleshooting Common Installation and Setup Issues
Resolving Power, Audio, and Backup Camera Glitches
You may hear high sound buzzes or hums from speakers after installing your carplay setup. First, check and tighten all ground wires, since bad grounds cause most sound problems. If the noise stays, place a ground loop isolator between your main unit and the amp. To stop this later, use shielded RCA cords, ground parts to one spot, and keep signal wires away from power lines. This simple fix stops unwanted electric noise right away.
Look at your main fuse box if the carplay screen stays dark and will not turn on. You must inspect the red accessory wire and yellow battery wire behind your dashboard space. This step confirms that your unit gets steady electric power all the time. Backup camera screens also need the right trigger wire setup to run properly. Wire the reverse signal line straight to your reverse light power cord so the back video turns on by itself. Check every camera wire now to avoid getting a black screen.
Fixing Wireless Connection Drops and Steering Wheel Controls
Wireless carplay uses strong Bluetooth and Wi-Fi signals to move your phone data. Reset your mobile phone network settings if the carplay screen cuts out while you are driving. You can also clear saved devices from the receiver menu and link your phone again. Updating your phone software solves sudden signal loss fast without buying new parts. Strong wireless connections keep map screens running great.
Steering wheel buttons need a special extra adapter box to talk with the radio unit. Set up your control adapter module by following the steps in your vehicle manual. Problems often happen because of loose control wire connections behind your dash. Check every harness adapter plug again to finish your radio job neatly. Careful testing makes sure your carplay unit works well on every trip.
Cost Analysis: DIY vs. Professional Installation
Fixing up your car stereo means picking between home projects and paying a pro. Working in your garage saves cash. Car shops back their work, but total job prices climb fast.
Evaluating Time, Tools, and Electrical Safety Risks
Simple hand tools and patience let you set up carplay yourself. First-time builders usually need two to four hours for a basic carplay setup. Buying plastic trim tools, wire strippers, and black tape is required before starting. Working at home skips shop fees totally. Still, taking on the job puts electrical risks on you. Pulling the car battery line stops short circuits from frying sensitive parts. Bad wiring burns out car fuses or destroys your fresh carplay receiver for good.
Professional installation for aftermarket CarPlay screens may add an additional $100 to $300, according to the source.
Hiring a trained shop drops stress and keeps your car safe. Shops own specific gear that pops factory trim off without scratches. Techs fast-mount your carplay display, route rear camera cords, and hide messy wires. They make sure your carplay device runs with full safety. Expert help saves your precious time. You skip squeezing into tight footwells or fixing dropped power. Picking a pro makes sense when you want to avoid snapping cheap dash tabs.
A portable carplay screen gives you the simplest build path if hard labor sounds bad. Just plug the power cord into your accessory port and stick the screen up. This choice skips taking apart your dashboard completely. A built-in carplay unit takes extra time and work, but it offers a sleek factory look. Modern carplay setups refresh your interior right away. Think about your own tool skills compared to high fix costs. Choosing the best path keeps your carplay display running smoothly on all future drives.
You can pick a portable carplay screen for car mounting or an in-dash receiver based on your vehicle fit. Basic plastic tools help you safely disconnect your car battery before starting electrical work. Fasten every wire harness with proper caps to prevent dangerous short circuits. Press all trim panels firmly until the plastic latches snap back into place.
Upgrading your dash receiver brings clear maps, simple voice controls, and modern carplay audio streaming to every drive. Reliable carplay setups instantly transform your interior space. You can enjoy smooth carplay connections on all future trips. Choose the best carplay screen today and elevate your entire driving routine.
FAQ
How much does professional installation cost?
Having an expert set up a new radio usually costs between $245 and $780+. Hiring a repair shop to fit an extra screen can add $100 to $300 for basic labor. Every vehicle needs special mounting brackets and wire adapters to fit the space properly.
Can you install carplay in an older automobile?
Yes, you can easily install this system at home using simple plastic hand tools. Most beginners take two to four hours to finish the entire project. Just make sure to unhook the main battery cable before you touch any electrical parts.
How do portable carplay units get power?
You run a portable screen by plugging its cord right into the standard 12-volt power outlet. This fast method lets you quickly add modern tech features to your dashboard. You get full system access without slicing into any original factory vehicle wires.
What tools keep dashboard panels safe during installation?
Soft plastic pry bars safely pop off trim pieces without leaving scratches on interior surfaces. A basic five-piece tool set only costs around $7.99 at most stores. Using proper levers prevents cracked plastic clips and makes your display setup project much simpler.
See Also
How To Upgrade Your Car Stereo With Advanced Touch Displays
The Ultimate Guide To Upgrading BMW Wireless CarPlay Interfaces
A Complete Guide To Modern Aftermarket CarPlay Interfaces This Year