BMW X5 Screen Upgrade for X6 E70/E71 CCC | Leadsign

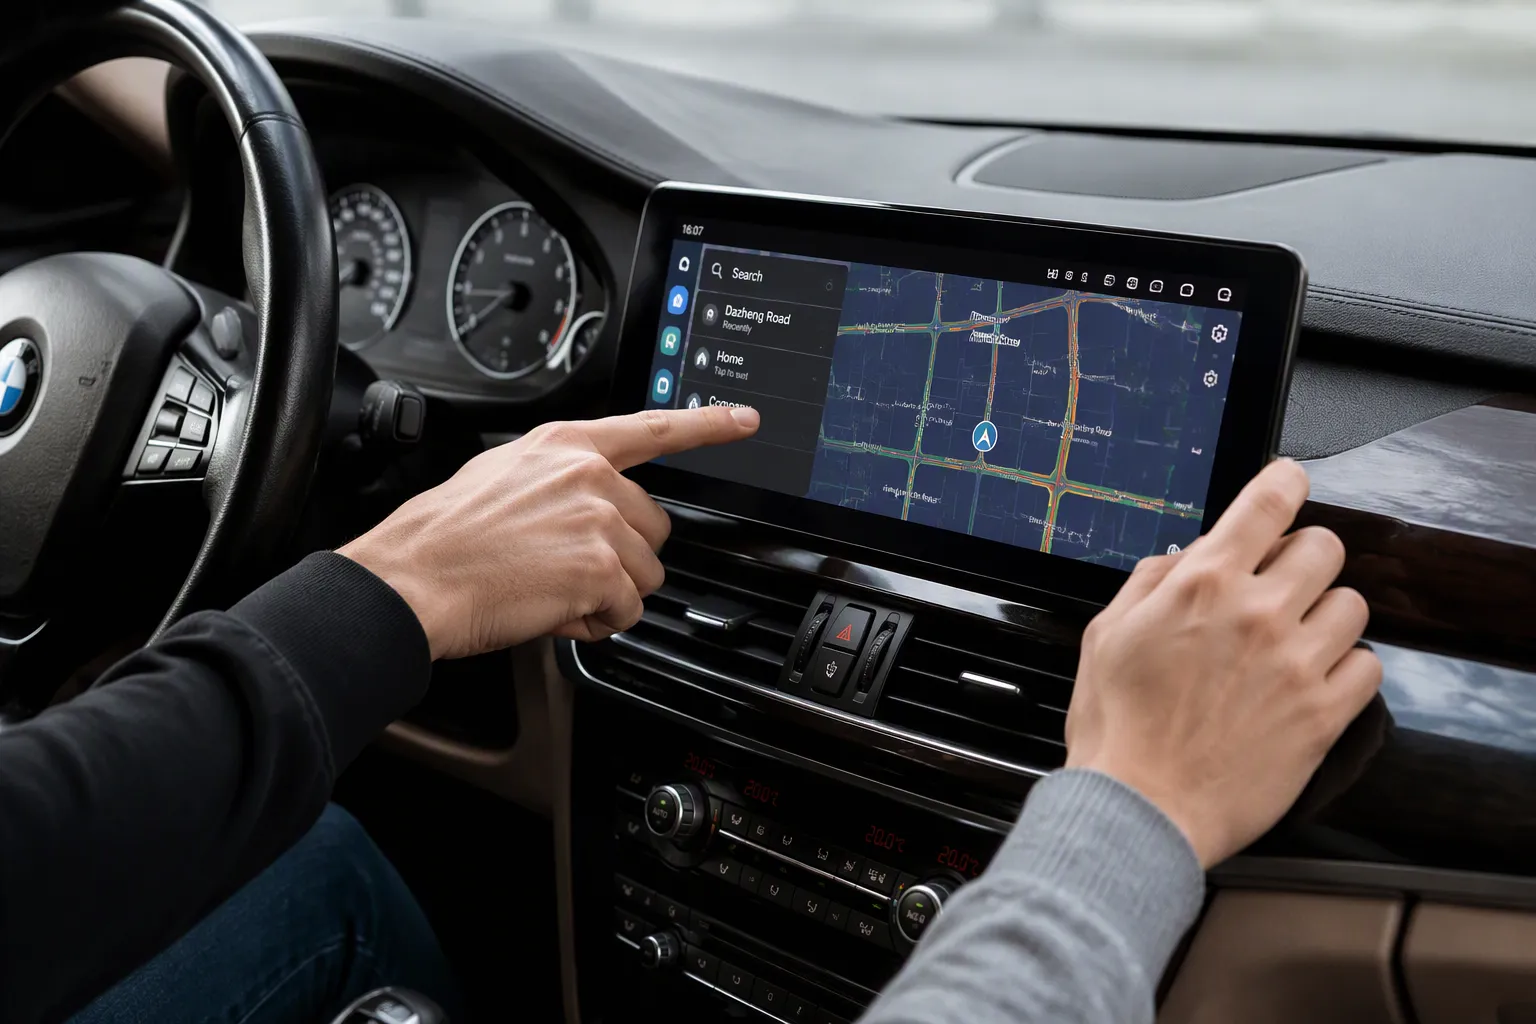
If you own a 2008 BMW X5, your SUV runs on the CCC iDrive system. The best 2008 BMW X5 screen upgrade for this setup is a dedicated Linux-based display. This screen upgrade delivers wireless CarPlay, Android Auto, and fast boot time. Plus, it's plug-and-play.
You'll get wireless CarPlay for calls and maps. Android Auto works wirelessly too. CarPlay connects fast every time you start driving.
This guide helps you identify your iDrive, compare options, and install your new screen safely. You'll learn which CarPlay system fits your BMW without cutting wires or losing factory features. Let's find the right upgrade for your X5.
Key Takeaways
Check your iDrive system first. The 2008 BMW X5 uses the CCC system with a small screen and a rotary knob.
Choose a Linux quick-boot screen for the best upgrade. It starts in 5 seconds and gives you wireless CarPlay and Android Auto.
Keep all factory features with a plug-and-play kit. Your radio, steering wheel buttons, and reverse camera still work.
Install the new screen yourself in about 2-3 hours. Just disconnect the battery and use basic tools.
Avoid firmware updates on the new screen. The system comes preconfigured for your car and works reliably.
Identify Your iDrive System for 2008 BMW X5
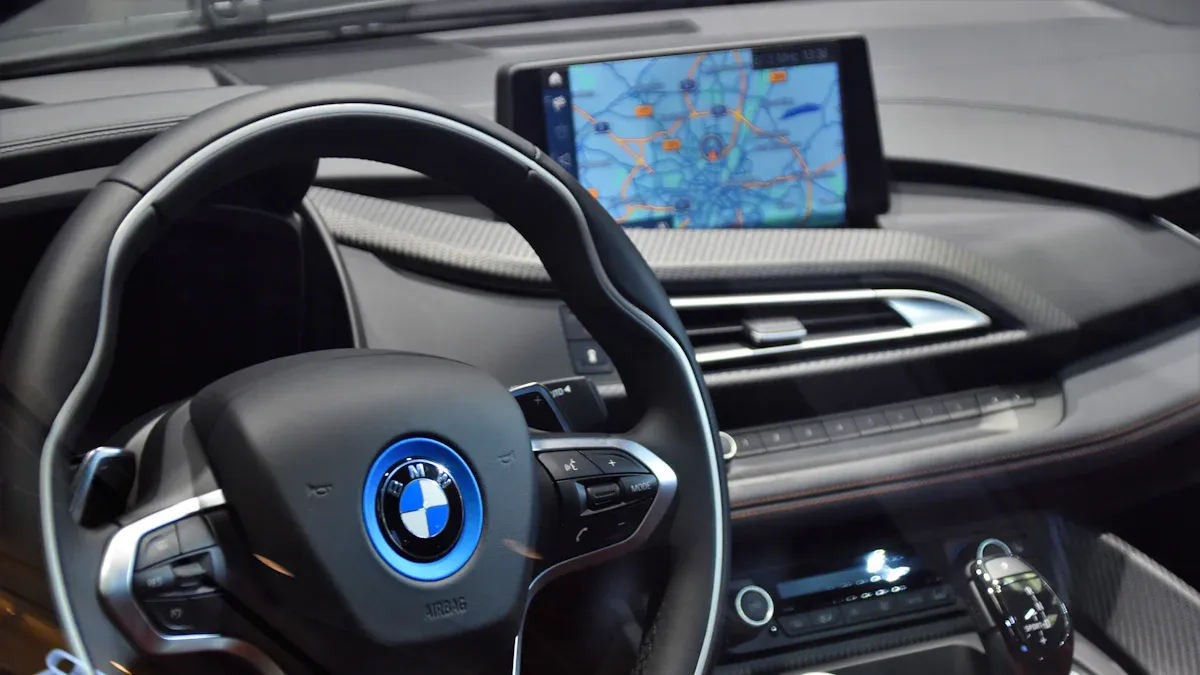
Before you buy any 2008 BMW X5 screen upgrade, you need to confirm which iDrive system sits in your dash. BMW used the CCC (Car Communication Computer) system in the 2008 X5 E70. This system also appears in some X6 E71 models. Knowing your iDrive version saves you from ordering the wrong parts.
Visual Cues of the CCC System
Look at your center console. The CCC iDrive uses a small factory screen. You will see a small factory screen. This factory screen is not a touchscreen. You control everything through a rotary knob on the center console. That knob is the iDrive controller. It sits separately from the screen.
Check the button layout around the controller. The CCC system has a specific set of buttons. You will find a Menu button, a Radio button, and a CD button. These buttons feel firm and click when you press them. If your car matches this description, you have the CCC system.
Why CCC Compatibility Matters
Your original iDrive controls many factory features. The radio, amplifier, and steering wheel buttons all run through this system. A generic aftermarket head unit will not talk to these parts. You need a CCC-specific upgrade for proper fitment.
A CCC-compatible screen keeps your factory iDrive functions alive. You still use the joystick control. Your door open warnings still work. The reverse camera still shows on screen. CarPlay and Android Auto add new features without killing the old ones. This compatibility is the whole point of a good upgrade.
Screen Upgrade Guide: Comparing Your Options
You have three main paths for your 2008 BMW X5 screen upgrade. Each one changes your driving experience in different ways. This screen upgrade guide breaks down what you get with each choice.
Linux Quick-Boot Systems
A Linux-based screen replacement is the cleanest option for your CCC-equipped BMW. The display fits your E70 or E71 dash perfectly. The high-resolution IPS panel stays sharp and bright, even when sunlight hits it directly.
Speed is the standout feature here. The system boots quickly. You start your car, and your wireless CarPlay is ready before you pull out of the driveway. Wireless Android Auto connects just as fast. No cables, no waiting.
This head unit upgrade keeps your factory screen size feel but adds modern smartphone integration. You get wireless CarPlay for maps, calls, and music. Wireless Android Auto works the same way. The touch interface responds quickly to your fingers.
Installation is truly plug-and-play. The system uses your original car cables. No cutting, no splicing, no permanent changes. Your original iDrive joystick still works. Steering wheel buttons still control volume and tracks. Door warnings and reverse camera feed stay active.
The Linux system preserves your factory amplifier and radio. You lose nothing from your original setup. You simply gain CarPlay and Android Auto on a bigger, sharper screen.
Android Touchscreen vs. MMI CarPlay Box
An Android screen gives you more app flexibility. You can download apps from Google Play directly onto the screen. That means streaming services, browser access, and custom navigation apps. The trade-off is boot time. Android systems take longer to start up compared to the faster Linux option.
An MMI CarPlay box takes a different approach. This device keeps your factory screen in place. It adds CarPlay and Android Auto through a separate module. The benefit is a lower cost and a simpler install. The downside is limited functionality. You still stare at your small original screen. Touch control does not exist on the factory display. You navigate CarPlay using the iDrive knob only.
Think about your daily routine. Do you want a large touchscreen with fast boot times? The Linux system wins. Do you need tons of apps on your dash? An Android touchscreen might suit you. Do you want the cheapest path to CarPlay? The MMI box works, but it feels like a half-step.
For most 2008 X5 owners, the Linux quick-boot screen hits the sweet spot. You get a modern screen size, instant CarPlay, and full factory integration. Your BMW keeps its luxury feel while gaining the tech you actually use every day.
Key Differences Between Upgrade Types
Functionality and User Experience
Boot speed changes your daily routine. A Linux screen starts up quickly. You get wireless CarPlay before you buckle your seatbelt. An android screen takes longer to start. Some users say the system stays on the CCC side until they open a certain app. That wait gets old fast.
Touch responsiveness matters too. The Linux display reacts right away to your fingers. You tap, and the screen answers. An android touchscreen works well, but setup can be tricky and slow you down. You might need to pull optic cables, move them to a harness, or cut wires you don't need. Audio routing adds another layer. Many android units need an AUX connection for sound. Your factory OEM head unit audio sometimes cuts out when you switch between iDrive and apps. The input source may even switch to AUX by itself.
App support differs as well. Android systems give you Google Play access. You can download streaming apps and browsers. That freedom comes with trade-offs. Music and navigation volume often cannot be adjusted on their own. Your stereo might cut music during turn instructions. A Linux system skips these problems. It gives you wireless CarPlay and android auto without the extra setup.
Integration and OEM-Like Appearance
A Linux screen upgrade keeps every factory feature. Your original iDrive radio still works. The amplifier stays active. Joystick control, steering buttons, door warnings, and reverse camera all work normally. You keep your factory OEM screen display quality with a larger, sharper panel. A larger screen makes CarPlay maps much clearer. You see street names and turn arrows without squinting.
The head unit upgrade looks like it came from BMW. The fit is clean. No permanent modifications are needed. Your car keeps its luxury feel. An android screen can also look good, but the setup may take more effort to blend with your factory screen. The original iDrive system stays intact with a Linux approach. You gain modern tech without losing what makes your BMW a BMW.
Screen Upgrade Installation Instruction for CCC
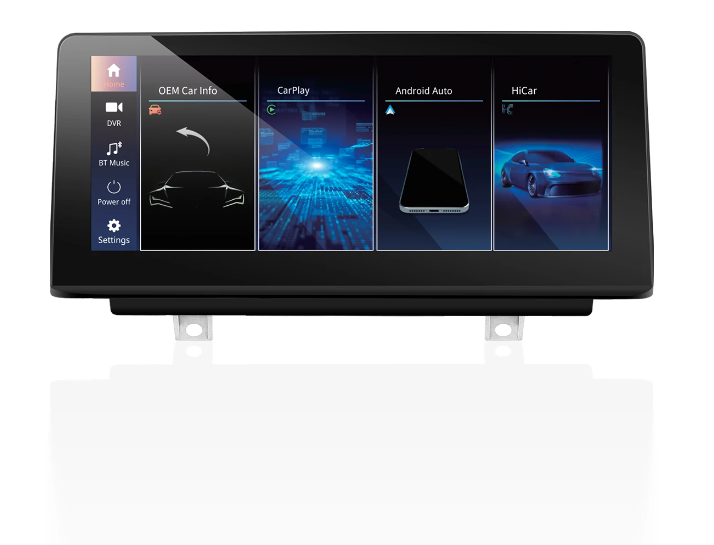
Installing your new screen is simpler than you think. The kit is plug-and-play. You don’t cut or splice any wires. You don’t change any software in your BMW’s control unit. The whole job takes a few hours. This screen upgrade installation instruction walks you through the steps. Follow it closely, and you’ll finish without any problems.
Tools Required and Preparation
You need just a few basic tools. Grab a set of plastic trim removal tools. A Phillips-head screwdriver will also help. Some models use a Torx screwdriver for the screen bracket. Have a small flathead screwdriver ready too.
Before you start, disconnect your car’s battery. This step prevents any electrical shorts. It also keeps your iDrive system safe while you work. Wait a few minutes before touching any wires. The system needs time to discharge fully.
Now remove the old trim. The screen is surrounded by a chrome or matte black bezel. Use your plastic trim tools to pop it off gently. Start from the bottom corners. Work your way around the bezel slowly. You will hear clips release. Do not yank the trim. The clips are easy to break if you apply too much force.
Once the bezel is off, unscrew the factory screen. There are several screws holding it in place. Keep them safe. You might need them for the new bracket. The factory screen is heavy. Hold it steady while you unplug the ribbon cables. Pull straight out. Do not twist the cables.
Now plug the new screen into those same cables. The connectors are keyed. They only fit one way. Push them in until they click. Mount the new screen using the original screws. Do not overtighten. Hand-tight is enough.
The final preparation step: don’t update any software or MCU firmware on the new unit. The aftermarket system comes preconfigured for your car. Updating it can break the touch response or CarPlay connection. Leave it as is. You don’t need an installation guide to modify settings. This is a true plug-and-play installation.
Common Pitfalls During Installation
The biggest mistake people make is not disconnecting the battery. A live power connection can short the screen or trigger a check control warning. Always disconnect the battery first.
Another common pitfall is damaging the interior clips. The trim bezel uses plastic tabs. They are fragile. If one breaks, the bezel will rattle. Work slowly and use proper tools. Do not use a metal screwdriver as a pry bar.
Some owners try to flash the new head unit with custom firmware. This is a bad idea. The manufacturer’s software is stable. Changing it can cause the audio system to stop working. It can also disable the reverse camera. Avoid any firmware updates.
Watch out for loose cables after installation. The ribbon cables must seat fully. If one cable slips out, the screen will not power on. Push them in until you hear a click.
Also, note that your original iDrive joystick still works. The new system uses it automatically. You do not need to reprogram anything. The factory screen functions are all preserved. The new screen is larger than your old factory display. Bigger maps help when you use CarPlay navigation.
One more thing: if you have an aftermarket reverse camera, it will continue to work. No extra wiring is needed. The Android screen and CarPlay both recognize the camera input.
Take your time. Follow this screen upgrade guide from start to finish. Double-check every connection. Test the screen before you put the trim back on. It saves you from having to remove the bezel again.
2008 BMW X5 Screen Upgrade Recommendation
Best Overall: Linux Quick-Boot Screen
For 2008 X5 owners with CCC, a Linux quick-boot screen is the clear best pick. A Linux quick-boot screen stands out for its speed, simple setup, and full factory function retention. You get a 2008 BMW X5 screen upgrade that feels like it came from BMW itself.
The fast boot time changes everything. You start your car, and CarPlay is ready before you shift into drive. No waiting, no lag. Wireless CarPlay connects on its own every time. Android Auto works the same way. This CarPlay solution beats every other option for daily driving.
A larger screen size makes navigation easier to see. The display shows CarPlay maps with clear street names and turn arrows. You won't squint at a tiny factory screen anymore. The high-resolution IPS panel stays bright in direct sunlight. Your CarPlay navigation becomes truly useful.
Benefits of Plug-and-Play and OEM Integration
No permanent changes are needed with this screen upgrade. The kit uses your original car cables. You don't cut wires or splice anything. The installation takes a few hours. Your BMW keeps its luxury feel.
This upgrade looks OEM because it is made for your dash. The fit is clean and seamless. Your original iDrive radio, amplifier, and joystick control all stay active. Steering wheel buttons work normally. Door warnings and reverse camera feed remain functional. The factory screen gets replaced, but nothing else changes.
An android touchscreen or android screen might tempt you with app flexibility. But those options add setup complexity. The Linux system gives you CarPlay and Android Auto without the headaches. You keep your original iDrive system fully intact. No software changes to your vehicle's control unit are necessary.
This 2008 BMW X5 screen upgrade delivers the best of both worlds. You gain modern CarPlay and Android Auto features. You lose nothing from your factory setup. The android screen route works for some drivers. For most CCC owners, though, the Linux quick-boot screen is the smarter choice. It follows the same logic as this screen upgrade guide: speed, simplicity, and full integration win every time.
For your 2008 BMW X5, the Linux quick-boot screen is the clear winner. You start by checking your iDrive system. Confirm you have the CCC unit. Then pick the Linux screen for reliable, fast performance. Follow the simple installation guide, and you're done in a few hours.
You get wireless CarPlay that connects quickly. CarPlay maps look sharp on the big display. Android Auto works wirelessly too. Your factory iDrive features stay intact. The car keeps its original luxury feel.
Order your 2008 BMW X5 screen upgrade today. Enjoy CarPlay and Android Auto on every drive. This screen upgrade keeps your BMW feeling like a BMW.
FAQ
Will this screen work with my 2008 BMW X5?
Yes, if your X5 has the CCC system. Look for a small non-touch screen and a separate round knob. This Linux screen fits E70 and some E71 models with CCC. It swaps out your factory display but keeps all original functions.
How long does the installation take?
Plan for a few hours. The kit is plug-and-play, so you don’t cut or splice wires. First, disconnect your battery, then swap the screens using basic trim tools. Test everything before you put the trim back.
Does this upgrade keep my factory features?
Absolutely. Your original radio, amplifier, and joystick control still work. Steering wheel buttons work normally. Door warnings and reverse camera feed stay active. You get wireless CarPlay and Android Auto without losing anything from your BMW's original setup.
What makes Linux better than Android for this upgrade?
A Linux system starts quickly. You get wireless CarPlay almost right away. Android screens take longer to start and may need extra setup like AUX connections. The Linux option keeps your factory iDrive system fully working with no software changes needed.
Can I update the software on the new screen?
No, do not update the firmware or MCU. The system comes set up for your car. Updates can break touch response or CarPlay connection. Keep the software as it is for stable, reliable use.
See Also
Upgrade Your Audi A4 B8 With 3G MMI Plus CarPlay Screen
Replace Your Car Stereo With A Touch Screen Display
Leadsign Guide To Upgrading Your Audi A3 Screen In 2026