How to Install Apple CarPlay and Android Auto on Your Audi A4 2013-2016 Screen

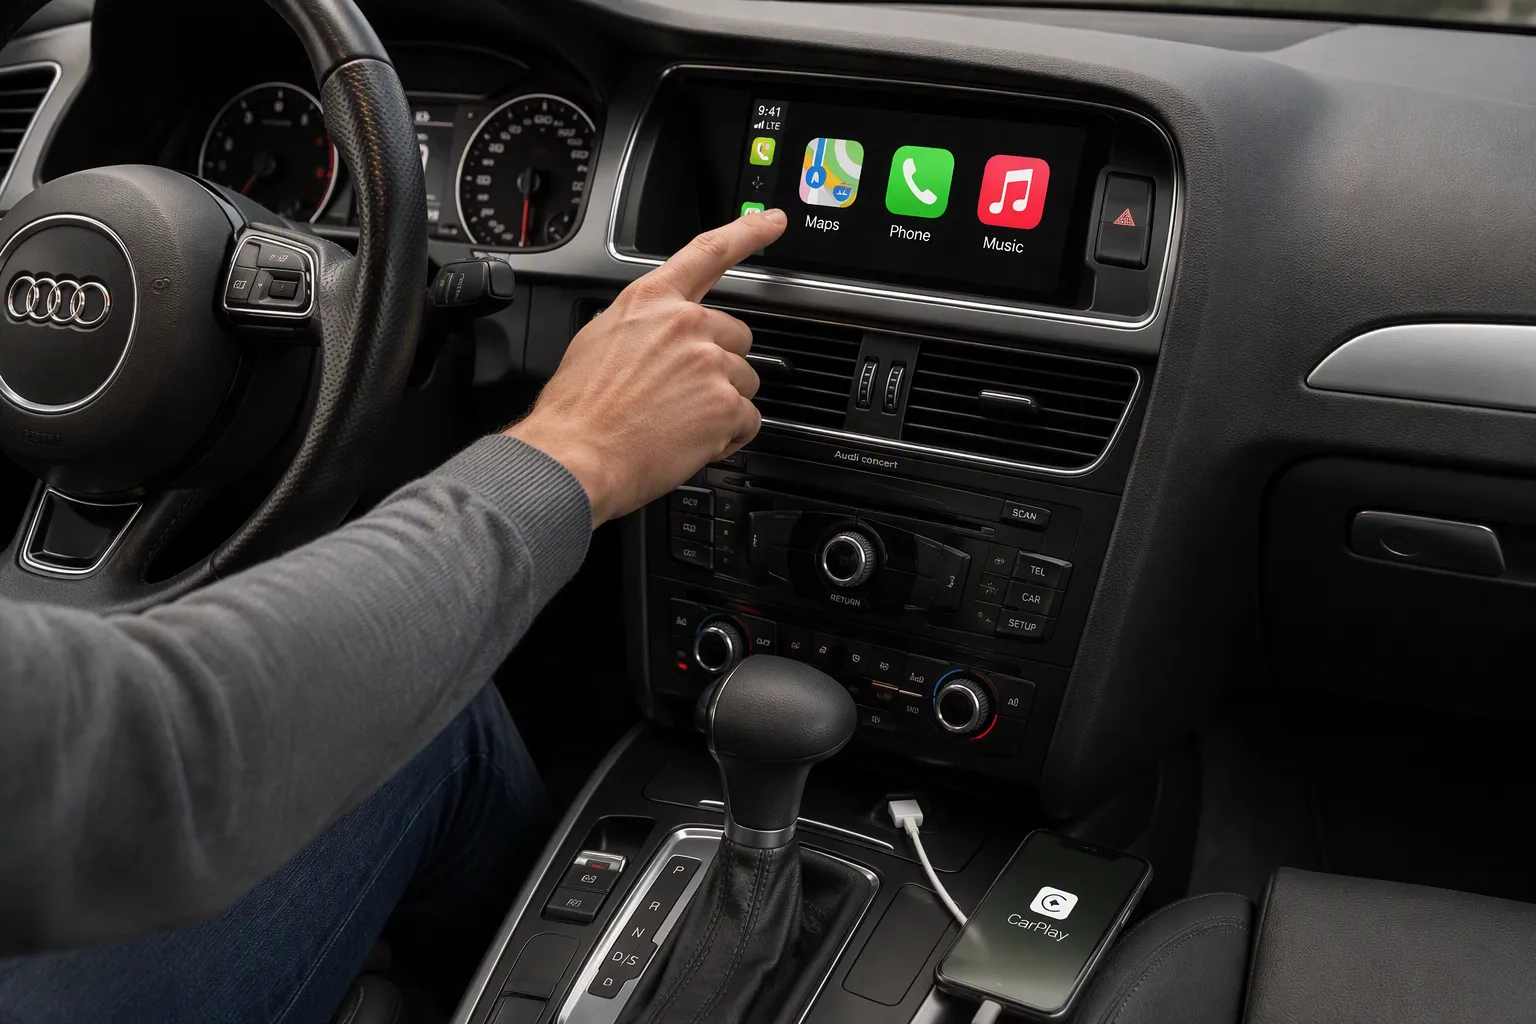
You love your Audi A4. The car feels timeless. Yet your factory screen lacks modern connectivity. You want wireless Apple CarPlay and Android Auto. You want sharp maps and easy calls. An audi a4 screen upgrade 2013-2016 solves this problem. You replace the factory screen with an 8.9-inch Linux touchscreen. This is a hardware replacement. It is not a software flash. The new unit delivers wireless CarPlay and Android Auto. You get 1920x720 HD resolution. Your factory radio, amplifier, joystick, and reversing camera still work. You keep the OEM look. You gain modern technology. Your daily drive becomes smarter and safer.
Key Takeaways
This upgrade works only with Audi A4 2013-2016 models that have the 3G MMI+ system.
The new 8.9-inch Linux screen adds wireless Apple CarPlay and Android Auto.
You don't need to cut wires or do software coding to install it.
Your factory radio, amplifier, joystick, and camera still work after the upgrade.
Press and hold the NAV button to switch between the Audi screen and CarPlay.
Audi A4 Screen Upgrade 2013-2016 Compatibility Check
Identifying Your MMI System
You must confirm your A4 has the 3G MMI+ system before you buy this kit. This audi a4 screen upgrade 2013-2016 works only with that specific system. Check your MMI model through the car's menu or consult your owner's manual. The table below shows which MMI systems match which model years.
MMI Model | Compatible Audi A4 Years |
|---|---|
3G MMI Basic system | 2009–2016 |
3G MMI High system | 2010–2012 |
3G MMI High Plus system | 2013–2016 |
This upgrade does not work with Audi Concert or Symphony systems. Those systems use different wiring and software. If your car has a Concert or Symphony radio, this kit will not fit. You need the 3G MMI High Plus system for the 2013–2016 A4. Look for the MMI control panel near the gear shifter. The joystick and four buttons confirm you have the right system.
Tools and Hardware Overview
The kit arrives with the 8.9-inch Linux touchscreen and plug-and-play cables. You do not need to cut or splice any wires. The original car cables connect directly to the new unit. This design keeps your factory radio, amplifier, and reversing camera working.
Gather three essential tools before you start. Trim removal pry tools help you lift the dashboard panels without scratches. A Torx screwdriver set removes the factory screws that hold the screen bracket. A microfiber cloth keeps the new display clean during handling. You should also keep a small container for loose screws. This audi a4 screen upgrade 2013-2016 requires no special software or coding. The Linux operating system runs the new interface on its own. Your car's control units stay untouched.
Preparing the Dashboard for Installation
Disconnecting the Battery
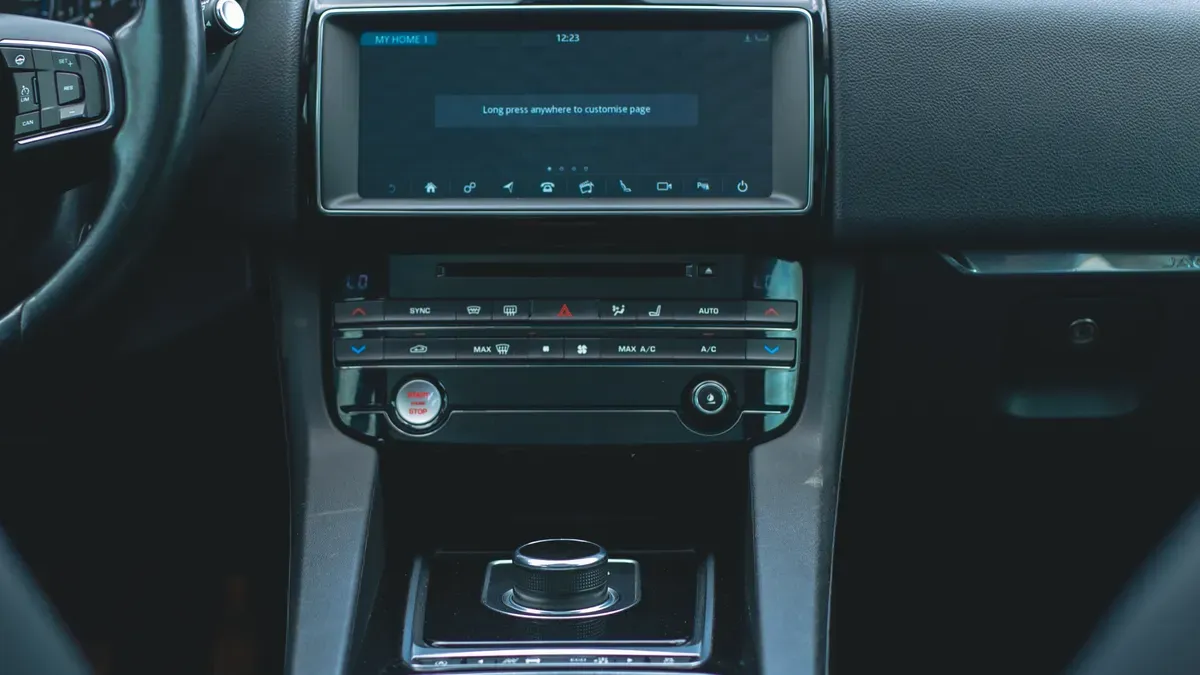
You must disconnect the battery before you touch any wiring. This step protects your car's electronics. It also prevents error codes from appearing on your dashboard. A live circuit can trigger fault messages when you unplug the factory screen. Those messages may stay in the system memory even after you finish the install.
Open the trunk and locate the battery compartment. Find the negative terminal. It carries a black cap or a minus symbol. Use a wrench to loosen the nut on the negative post. Pull the cable away from the terminal. Tuck the cable aside so it cannot touch the post again. Wait a few minutes before you continue. This waiting period lets the car's control units power down fully.
Always disconnect the negative terminal first. This order prevents accidental shorts if your tool touches metal.
Removing the Factory Screen Trim
The dashboard trim holds the factory screen and the air vents. You need to remove this trim to reach the screen bracket. Start at the bottom edge near the climate controls. Slide a trim removal pry tool behind the panel. Apply gentle pressure and work your way around the edges. You will hear a soft pop as each clip releases.
Move slowly and evenly. Do not yank the trim. The plastic clips can break if you rush. Once the trim feels loose, pull it toward you. Disconnect any small connectors for the vent lights or buttons. Set the trim aside on a soft cloth.
The original car cables stay in place. You do not cut or splice any wires. The new Linux screen uses the same connectors. This plug-and-play design keeps your factory radio, amplifier, and reversing camera working. No software changes are needed on your car's control units.
Installing the New Touchscreen Unit
Connecting the Wiring Harness
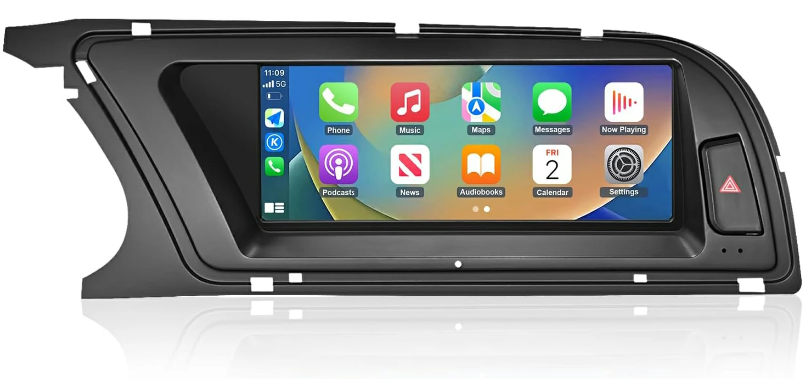
You now hold the new 8.9-inch Linux touchscreen in your hands. The next step connects this unit to your car's electrical system. Find the quadlock connector behind the factory screen location. This large, rectangular plug carries power, audio, and data signals for your Audi. Press the release tab on the factory quadlock connector. Pull the plug straight out from its socket. Keep the connector clean and free of dust.
The new Linux screen harness includes a matching quadlock socket. Align the keyed edges of the plug with the socket on the new harness. Push the connector in until you hear a firm click. This click confirms a secure electrical connection. The audi a4 screen upgrade 2013-2016 uses this plug-and-play design. You do not cut any factory wires. You do not splice any cables. The original car cable carries all signals to the new display.
Route the GPS antenna cable next. The GPS antenna needs a clear view of the sky for optimal signal reception. Place the antenna on top of the dashboard near the windshield. Keep the antenna away from metal surfaces and electronic modules. Metal blocks GPS signals. Electronic modules create interference. Route the antenna cable behind the dashboard trim and toward the screen location. Secure the cable with the included adhesive clips. This placement ensures fast satellite locks for navigation.
Do not coil excess GPS antenna cable near the screen unit. Coiled cable can pick up electrical noise and weaken signal strength.
The new unit retains your factory joystick control. The joystick on your center console continues to work with the new interface. Your original reversing camera also stays functional. When you shift into reverse, the camera image appears on the new 8.9-inch display. These features work without any additional coding or software changes.
Mounting the 8.9-Inch Display
You now mount the new touchscreen into the dashboard opening. Pick up the 8.9-inch display unit. Hold it with both hands and keep your microfiber cloth nearby. Slide the unit into the factory screen cavity at a slight angle. Guide the bottom edge in first. Tilt the top edge toward you until the unit sits flush.
Check the alignment of the mounting holes. The new bracket matches the factory screw locations. Insert the Torx screws by hand at first. Turn each screw a few threads to hold the unit in place. Tighten the screws in a cross pattern. This pattern keeps the display level and prevents stress on the screen frame. Do not overtighten the screws. Excessive force can crack the plastic bracket or damage the display panel.
Test the fit of the dashboard trim before you proceed. The trim should sit flush against the new screen bezel. Adjust the screen position if you see any gaps. The audi a4 screen upgrade 2013-2016 keeps the original dashboard lines. The new display looks like a factory option. Your interior keeps its clean, OEM appearance.
Connect any remaining small connectors for the vent lights or buttons. Tuck all loose cables behind the screen unit. Make sure no wires pinch between the screen and the dashboard frame. A pinched wire can cause intermittent faults or audio dropouts. Take your time with this step. A clean cable route prevents problems later.
Testing and Final Reassembly
Powering Up and Switching Interfaces
Reconnect the negative battery cable before you test the new system. Tighten the nut on the negative post with your wrench. Close the trunk and move to the driver's seat. Turn the ignition key to the accessory position. The new 8.9-inch Linux touchscreen powers on within seconds. You see the original Audi interface first. This confirms your factory radio and amplifier still work.
Press and hold the NAV button on your center console for about three seconds. The screen switches to the CarPlay or Android Auto interface. Release the button when the new menu appears. Repeat this long-press action to switch back to the Audi interface at any time. This toggle keeps both systems available without any coding changes.
Securing the Trim and Finishing
Test the touch responsiveness before you snap the trim back into place. Tap several icons on the screen. Swipe through menus and open the navigation app. Each tap should register right away. The Linux operating system delivers stable, freeze-free performance. Now test the audio output. Play a song through CarPlay or Android Auto. Adjust the volume with your factory knob. Sound should come through all speakers clearly. Make a test phone call through the hands-free system. Check that the microphone picks up your voice.
Align the dashboard trim with the clip holes around the screen and air vents. Press the trim firmly with both hands. Work from the top edge downward. You will hear each clip snap into place. Do not force the trim. If a clip resists, pull the trim back and check the cable routing. A pinched wire can block the trim from seating properly. Wipe the new display with your microfiber cloth once the trim sits flush. Start the engine and take a short drive. Test the reversing camera by shifting into reverse. The camera image should appear on the new screen. Your audi a4 screen upgrade 2013-2016 is now complete.
Your Audi A4 now blends classic design with modern technology. The 8.9-inch Linux touchscreen brings wireless CarPlay and Android Auto to your daily drive. You kept your factory radio, amplifier, joystick, and reversing camera. The audi a4 screen upgrade 2013-2016 preserves the OEM look you love. No cutting, no splicing, and no software changes were needed.
You gained sharp HD maps, hands-free calls, and easy music streaming. Your interior still looks factory-fresh. Take a drive and enjoy the upgrade. Every trip now feels smarter, safer, and more connected. You earned this transformation. Go enjoy it.
FAQ
Does this upgrade work with my Audi Concert or Symphony radio?
No. This kit fits only the 3G MMI+ system found in 2013–2016 A4 models. Concert and Symphony systems use different wiring and software. Check your MMI control panel near the gear shifter. The joystick and four buttons confirm you have the correct system.
Will I lose my factory radio, amplifier, or reversing camera?
No. The new Linux screen keeps all original vehicle functions. Your factory radio, amplifier, joystick control, and original reversing camera continue to work. The kit uses the original car cable. No software changes happen on your car's control units.
Do I need to cut or splice any wires during installation?
No. The kit includes plug-and-play cables. The quadlock connector matches your factory socket. You press the plug in until it clicks. No cutting, no splicing, and no coding required. The audi a4 screen upgrade 2013-2016 keeps your factory wiring intact.
How do I switch between the Audi interface and CarPlay?
Press and hold the NAV button on your center console for about three seconds. The screen switches to CarPlay or Android Auto. Repeat the long-press to return to the Audi interface. This toggle works without any coding changes.
What tools do I need for this installation?
Gather trim removal pry tools, a Torx screwdriver set, and a microfiber cloth. Keep a small container for loose screws. These tools help you lift dashboard panels, remove factory screws, and keep the new display clean during handling.
See Also
Upgrade Your Audi A4 B8 With 3G MMI+ CarPlay Screen
Retrofit Audi A5 2009-2015 MMI 2G With Apple CarPlay System
Guide To Upgrading Your Audi Q5 Screen Using Plug-And-Play Kit
Leadsign Provides Top Audi A4 B8 Apple CarPlay Upgrade Solution