Turn Your BMW 3/5 Series into a Modern CarPlay Ride

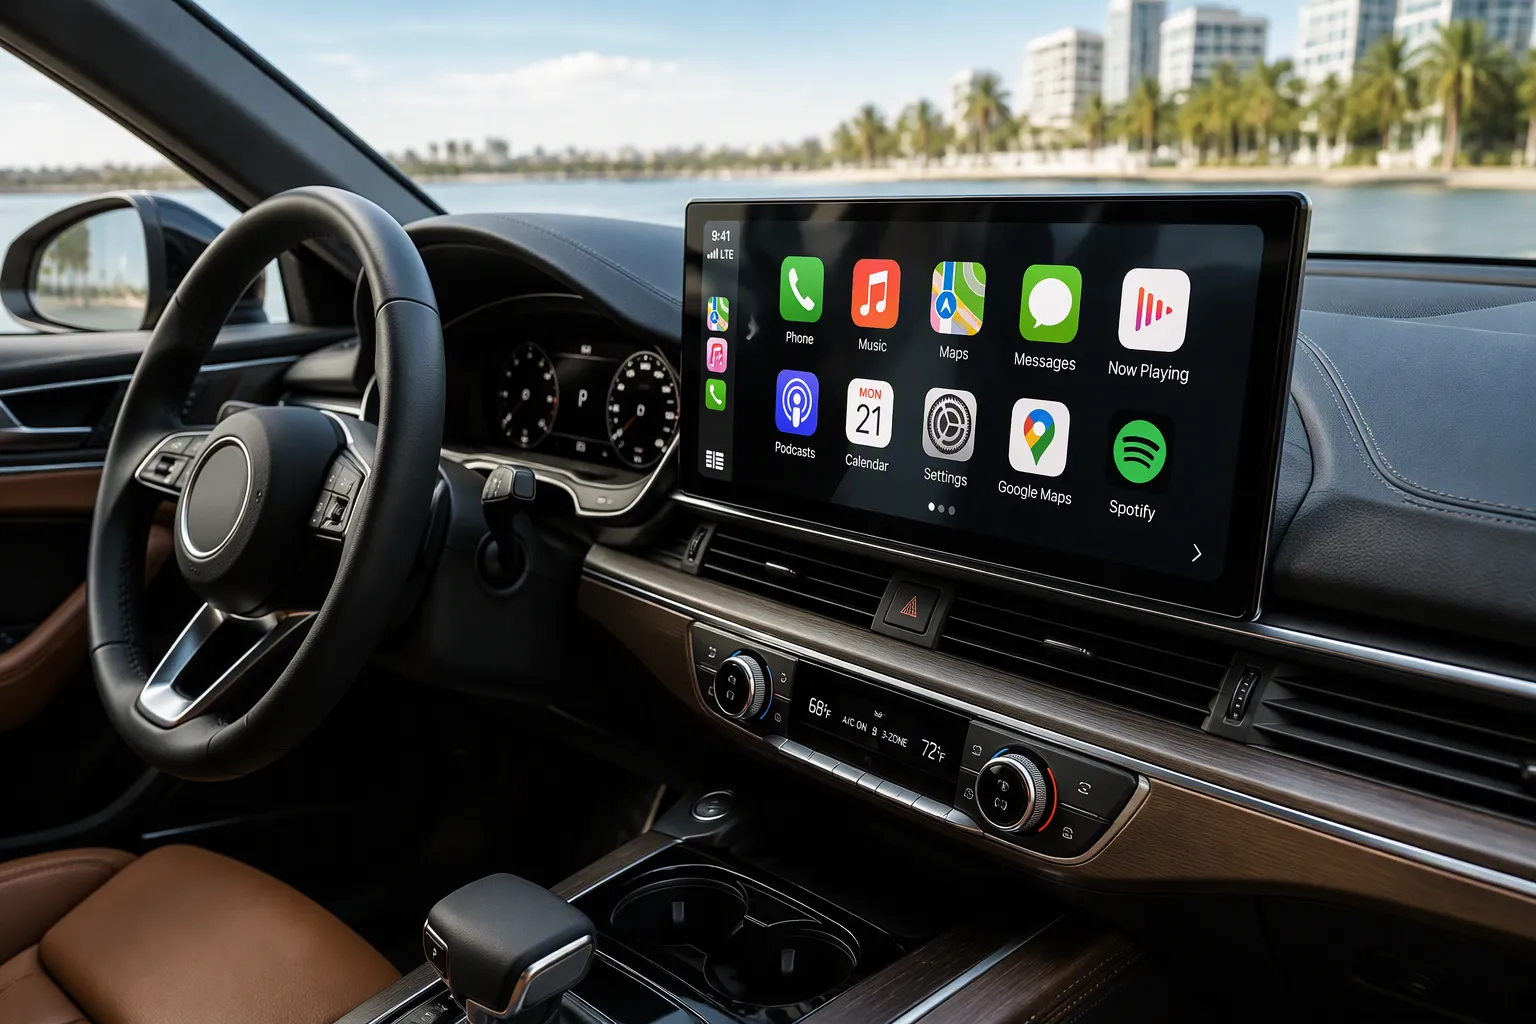
Your 2003-2008 BMW rocks a factory CCC system. That tech feels ancient today. You want modern maps, music, and calls. A bmw ccc carplay screen for 3/5 series 2003-2008 fixes this problem. This 8.8-inch Linux screen adds wireless CarPlay and Android Auto. You get seamless smartphone integration without losing your original iDrive look. The upgrade stays non-destructive. No cutting wires. No splicing cables. Your factory joystick, steering wheel controls, and parking sensors still work. This guide walks you through each step safely. You can enjoy modern carplay features while keeping your BMW's classic interior intact.
Key Takeaways
Check your BMW for a factory screen and an aux port. This ensures the new CarPlay screen fits your car.
Install the new screen without cutting wires. Your original radio, joystick, and steering wheel controls still work.
Handle the fiber optic cable with care. A wrong bend can cause total audio failure.
Switch between the original BMW menu and CarPlay by holding the Menu key. Both systems stay available.
Test all factory features after installation. Steering wheel controls, parking sensors, and radio should work perfectly.
Preparation for Your BMW CCC CarPlay Screen for 3/5 Series 2003-2008
Before you dive into the upgrade, gather your tools and check your car. Good preparation takes only a little time. It prevents costly mistakes later. This guide gives you simple steps. Follow them in order. Your BMW stays safe throughout the process.
Essential Tools and Safety Checks
You need only a few tools for this job. Grab a set of plastic trim removal tools. These protect your dashboard from scratches. You also need a screwdriver. The factory screen uses screws. Keep a small tray nearby. It holds the screws while you work. Don't forget the fiber optic loop. This tiny plastic part closes the MOST ring during installation.
Safety comes first. Disconnect your car battery before touching anything. The battery sits in the trunk or engine bay. Loosen the negative terminal clamp. Lift the cable away. Wait a few minutes. This step protects the CCC module. It also prevents error codes. No power means no accidental shorts. Nothing gets damaged. Reconnect the battery only after the new screen mounts securely. Follow these instructions exactly.
Verifying Your CCC System Compatibility
Check your car before you order. The bmw ccc carplay screen for 3/5 series 2003-2008 fits specific models. It works with the E90, E91, E92, and E93 3 Series. It also fits the E60 and E61 5 Series from 2003 to 2008. Your vehicle must have the CCC system. CCC means Car Communication Computer. That was the factory infotainment unit for those years.
Your car needs two things for compatibility. First, you must have a factory screen. The new display replaces it. Second, you must have the original MOST fiber optic sound system. That means your car has the factory fiber optic audio connections. The system relies on the MOST fiber optic cable to route audio. Look for the green 2-pin MOST connector. If you see it, you have the correct original system. Then you can order your bmw ccc carplay screen for 3/5 series 2003-2008 with full confidence.
This compatibility check matters. It confirms the wiring matches. It confirms the fiber optic connections align. Verify everything. Then move to the dashboard removal steps.
Dashboard Disassembly and Removal
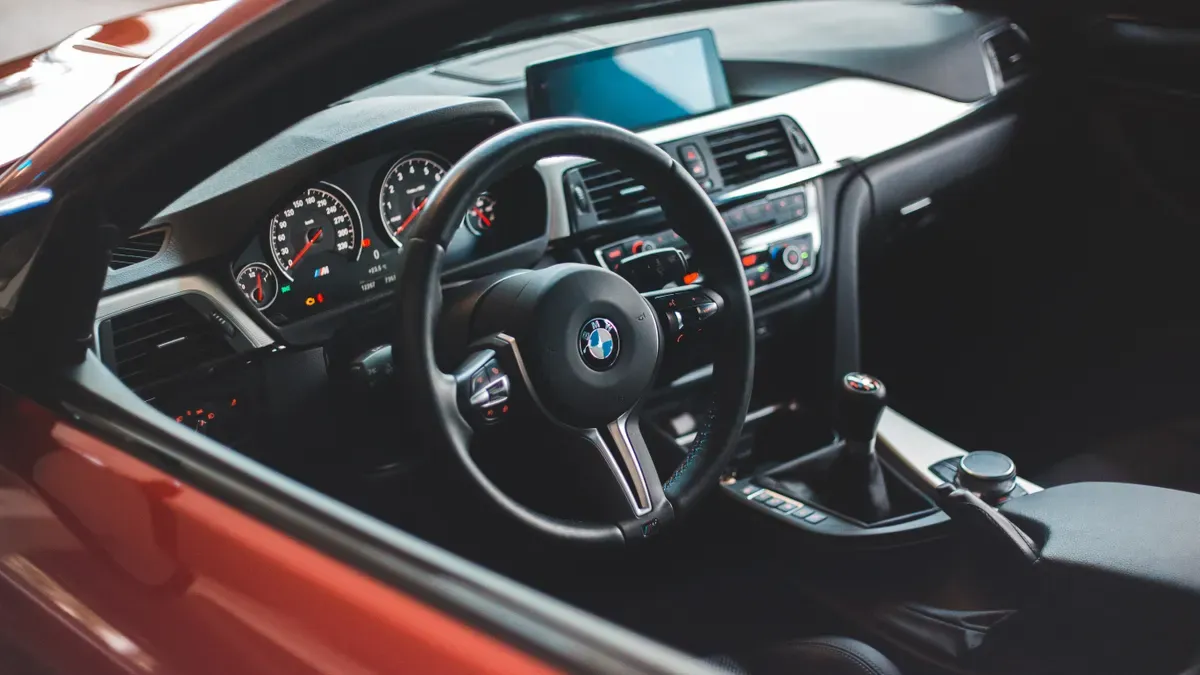
Now you reach the hands-on part. This dashboard disassembly stage feels scary at first. Take your time. The plastic parts are old. They can crack if you rush. Work in a warm garage if possible. Cold plastic breaks more easily. Keep your trim removal tools handy. You will use them a lot here.
Removing the Factory Screen
Start with the navigation screen. Loosen both screws that hold it in place. Use your screwdriver. Then carefully pry the screen forward. Work slowly around the edges. Do not force it. The dashboard clips are fragile after all these years. Once the screen pops free, disconnect the LVDS and power connectors. Set the screen aside.
Next, move to the middle interior trim. Begin on the right side. Use your trim removal tools to release each clip gently. Remove the entire trim bar. Disconnect the hazard warning light unit connector. Then remove the screws of the climate control panel on the left and right. Carefully loosen the panel. Pull out all the plugs from it. Take a photo before you disconnect anything. This simple step saves you headaches later.
Extracting the Head Unit
Lever the panel underneath from both sides to release it. Remove the four screws behind the cover. Now you can access the original head unit. Pull the cable from the screen and the power cable. Unplug the optic cable from the original connector. You will reconnect it later. Connect the old plug to the new plug. Plug the optic cable into the new connector. Then connect the new connector with the optic cable to the CCC computer.
Slide the head unit out along its mounting rails. Disconnect the main wiring harness at the rear. That is the Quadlock connector. Store the original head unit safely. You will reinstall it later in the process. Follow these instructions closely. Your dashboard disassembly will go smoothly.
Installation Instructions for the New Screen
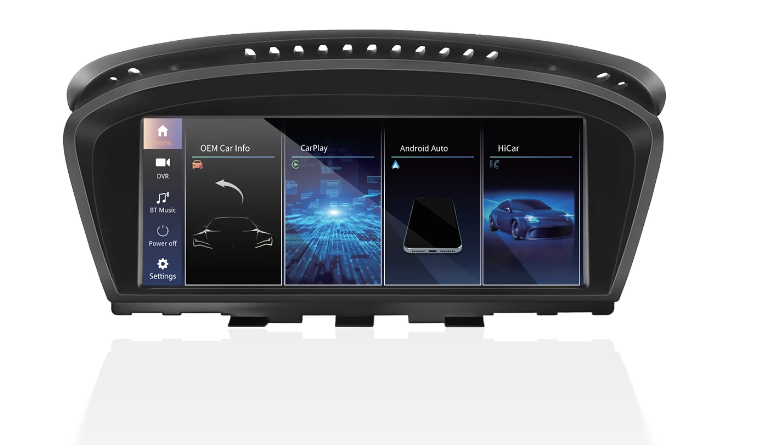
You made it through the hard part. Now comes the reward. These installation instructions focus on connecting your new bmw ccc carplay screen for 3/5 series 2003-2008. The process uses a plug-and-play design. You keep all original car cables. No cutting. No splicing. Your complete installation guide starts here.
Connecting the Wiring Harness
Grab your new screen and the pass-through harness from the box. This wiring harness matches your factory plugs perfectly. Start with the main wiring harness at the rear of the cavity. That is the main quadlock connector. Push the new harness plug into the factory quadlock connectors. You will feel a solid click. That sound means a secure connection.
The wiring integration stays simple because the new harness mirrors the factory layout. Your original MOST fiber optic connections still work through this connection. The fiber optic cable carries audio just like before. You do not touch the vehicle control unit. That keeps software conflicts away. If you plan to add a rear view camera, follow the camera's installation instructions included in the kit. The wiring for that camera taps into the new harness cleanly.
Now route the microphone. Tuck it near the rearview mirror or along the A-pillar. Hide the wire behind the trim panels. Next, place the GPS antenna. The dashboard top or the A-pillar works well. Keep it away from metal surfaces. Metal blocks satellite signals. Both cables run down to the new screen. Secure them with zip ties. Loose wires rattle. Rattles drive you crazy later.
The Critical Fiber Optic Transfer
This step matters most. The MOST fiber optic cable carries every audio signal in your BMW. Handle it with extreme care. Fiber optic cables are fragile and expensive to replace. One wrong bend ruins them. Your compatibility with the original MOST fiber optic system depends on this transfer. The optic cable must be unplugged from the old connector first. Then it moves to the new wiring harness.
Follow this exact sequence for the transfer:
Disconnect the MOST optic cable from the original BMW CCC connector.
Attach the original stock plug to the new CarPlay harness connector.
Insert the optic cable into the newly installed connector.
Connect the new connector, now carrying the optic cable, back to the CCC computer.
For BMW E60 models with a MOST fiber optic sound system, the green 2-pin MOST cable must be carefully transferred from the original harness to the new CarPlay/Android harness. Use precision tweezers to unclip it from the original connector and place it into the matching slot on the new harness. This cable carries all audio signals in the vehicle, so it must be handled with care; fiber optic cables are fragile and expensive to replace.
Loose or improperly connected plugs cause total audio failure. An optic cable not re-pinned correctly does the same. Take your time here. Once the fiber optic connection is solid, power flows to the new screen. The Linux OS interface boots quickly. That is faster than your old CCC ever started. The detailed installation instructions for this step are done. Your wiring integration is nearly complete.
Testing and Finalizing Your Guide
You have finished the wiring and the fiber optic transfer. Now the big moment arrives. This last stage of your complete installation guide makes sure everything works. You hook the battery back up and watch your new screen turn on. Then you go through a few easy checks. These steps take only a few minutes. They give you full confidence in the upgrade.
Powering Up and Switching Modes
Reconnect the negative battery terminal first. Tighten the clamp firmly. Then turn your key to the accessory position. The new 8.8-inch screen starts quickly. You see the Linux interface show up. That fast startup beats your old CCC system by a lot. The screen looks bright and sharp.
Switching between interfaces is simple. Press and hold the Menu key on your iDrive controller. The display flips between the original BMW menu and the new CarPlay interface. Let go of the key when you see the screen you want. This easy gesture keeps both worlds right at your fingertips. You never lose access to your factory settings. The system testing phase begins here. Try the switch a few times. It should feel smooth every time.
Verifying OEM Functionality
Your BMW came with features you love. The upgrade should keep every single one. Go through this checklist after the first boot. It confirms your correct original system stays intact.
OEM Function to Test | What to Expect |
|---|---|
Steering wheel controls | Compatible with most steering wheel control functions |
iDrive knob / joystick | Compatible with the original car iDrive knob |
Parking sensors | Compatible with original parking sensors |
Optic fiber system | Compatible with original Car Optic fiber system |
Switching between CarPlay and original head unit | Press and hold the Menu key to switch the system |
Test each item one by one. Turn the steering wheel volume dial. Click through the iDrive menus. Shift into reverse to check the parking sensors. Play audio through the optic fiber system. Every function should act exactly as before. The carplay interface adds new features without taking anything away. If something feels off, go back to your wiring connections. A loose plug usually explains the problem. Follow these instructions and enjoy your modernized ride.
Complete Installation Guide: Troubleshooting
Even with perfect installation instructions, a few hiccups can pop up. Do not panic. Most issues trace back to simple connections. This complete installation guide helps you fix them fast. You already did the hard work. Now you just need small adjustments.
Fixing No Sound and Audio Issues
No sound tops the list of common sound problems. Your fiber optic loop usually causes this. Go back to the MOST cable transfer step. Check that the optic cable sits firmly in the new connector. A loose pin kills all audio. Push it in until you feel a click. Also verify your fiber optic cable connects properly. The system needs that fiber optic signal to route audio. If you skipped the fiber optic connection, music will not play. Recheck every wiring connection in the harness. A single unseated plug creates silence.
Some drivers notice sound quality differences after the swap. The audio might not match your factory Bluetooth at the highest volume. This is a minor trade-off. Most of the time, you will not notice it. If sound problems persist, test the original BMW menu mode. Switch back to the BMW menu. If audio works there, your new screen's wiring routing needs attention. Re-seat the harness connectors. That usually solves it.
Resolving Display Problems
A black screen looks scary. It almost always means a loose connection. Check the main power plug at the rear of the new screen. Then check the quadlock connector. Push each plug in until it clicks. If the screen stays dark, verify your battery reconnection. A weak ground causes display failure too.
Some users report a stretched iDrive menu after installation. Everything else works fine, but the BMW menu looks odd. This is a known quirk. Your wiring integration is likely correct. Do not tear everything apart for this. Also, if you added a rear view camera, test it separately. Shift into reverse and confirm the camera displays. Some drivers notice music does not resume after leaving reverse. Toggle the reverse open/close setting in the menu. If that fails, a firmware update may help.
The vehicle control unit stays untouched throughout this process. Software conflicts are rare. Your original system and the new Linux screen run independently. That design keeps things stable.
You just transformed your BMW interior. Your classic ride now has wireless CarPlay and Android Auto. The bmw ccc carplay screen for 3/5 series 2003-2008 keeps your original iDrive look. You gained modern features without losing factory integrity. Your steering wheel controls, joystick, and parking sensors still work perfectly.
Enjoy your "new" ride. You earned it. Take a drive and test those maps and music apps.
If you feel uncomfortable handling fiber optic cables, hire a professional. One wrong bend ruins them.
Your BMW now blends classic style with modern tech. That is a winning combination.
FAQ
Will this screen work with my 2008 BMW 328i?
Check your car for two things. You need the CCC system with a factory screen. You also need the original MOST fiber optic sound system. The E90, E91, E92, and E93 3 Series work. If you have that fiber optic system, you are good to go.
Do I lose my original iDrive features after installing this?
No. Your factory joystick, steering wheel controls, and parking sensors all keep working. Press and hold the Menu key to switch between the original BMW interface and the new CarPlay screen. The vehicle control unit stays untouched, so nothing conflicts.
How long does the new screen take to start up?
The Linux system boots quickly. That is much faster than your old CCC unit. You turn the key, and the screen is ready almost immediately. No long waits before you can use your maps or music.
What happens if I connect the fiber optic cable wrong?
You will lose all audio. The MOST fiber optic cable carries every sound signal in your BMW. If the pins are loose or bent, no music plays through any speaker. Double-check that connection before you power up. Fiber optic cables are fragile, so handle them with care.
Can I install this myself, or should I hire a professional?
You can do this job yourself if you feel comfortable with basic tools. The plug-and-play design means no wire cutting. However, the fiber optic transfer is delicate. If you worry about damaging that cable, pay a professional. One wrong bend ruins it.
See Also
Simple Steps To Add Apple CarPlay To Your BMW E87
Don't Install BMW E90 CarPlay Without This Essential Guide
Easiest BMW E60 Screen Upgrade For Modern Driving Experience
Upgrade BMW With Wireless CarPlay Interface Retrofit Kit By Leadsign