How to Retrofit Apple CarPlay in Your BMW E87 Easily

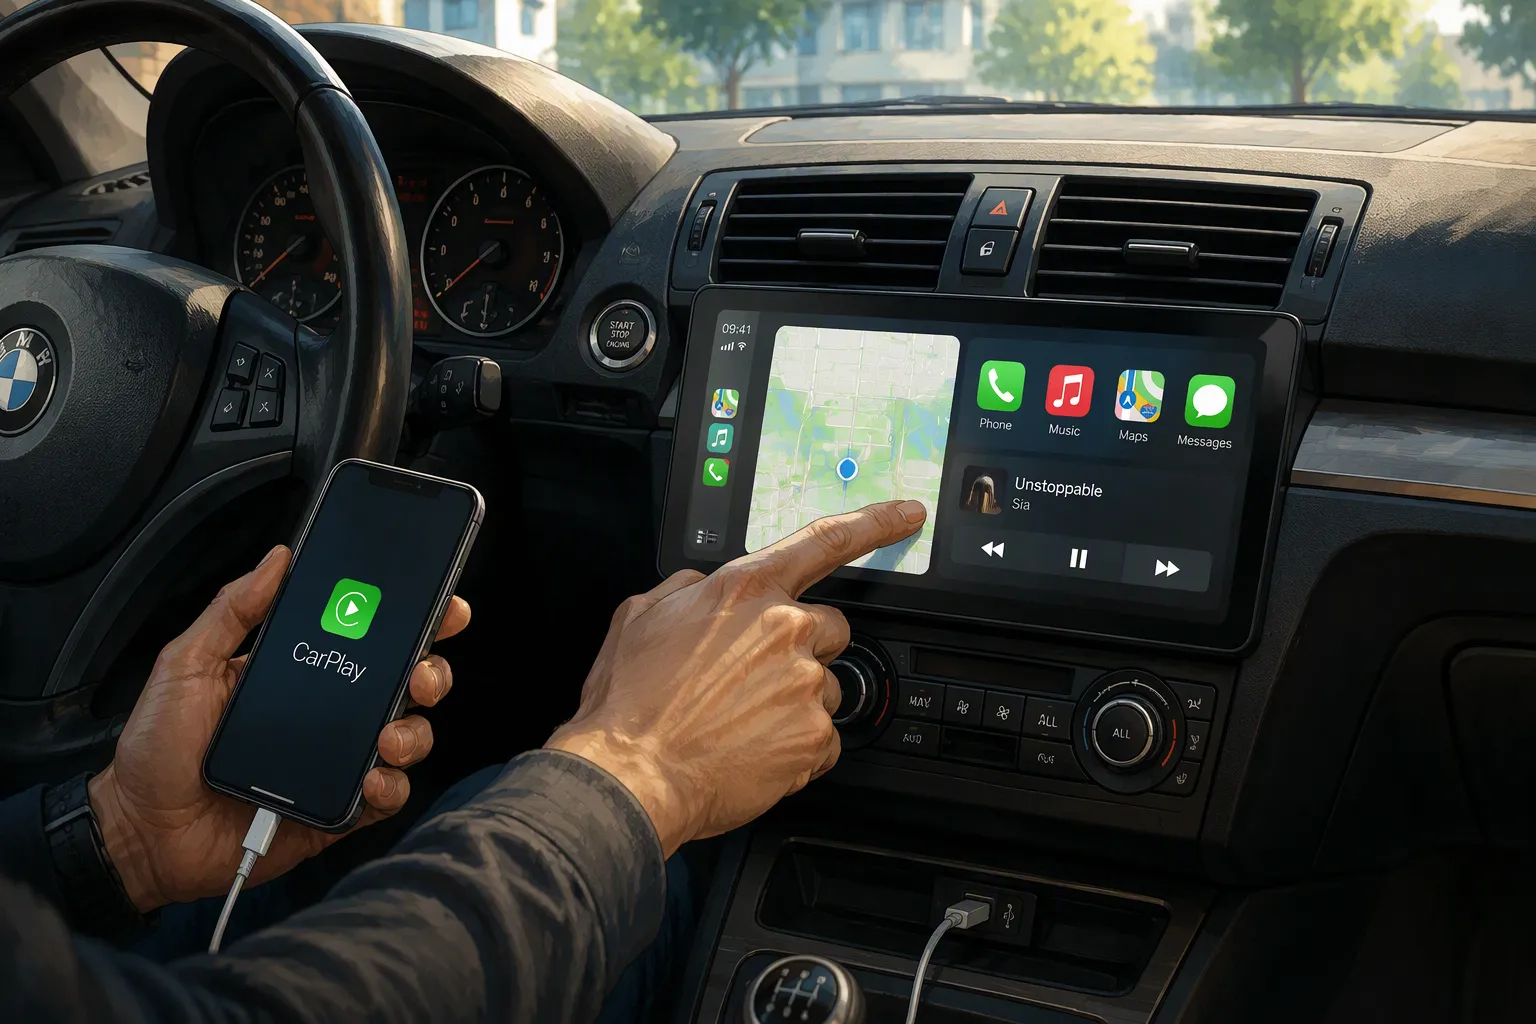
You can absolutely complete a bmw e87 carplay upgrade at home with basic tools. The 10.25″ Linux screen for your E87 (2004–2008) with CCC works as a true plug-and-play retrofit. It uses your original car cables. No cutting, splicing or software changes are needed.
Let's clear up three terms. CCC is your factory head unit. iDrive is the rotary controller. Plug-and-play means no coding or wire modification.
You'll follow a full installation guide covering removal, fitting, wiring, testing apple carplay and android auto, then reassembly. A short checklist and support resources wait at the end, so you won't feel stranded mid-install.
Key Takeaways
You can put a CarPlay screen in your BMW E87 at home with basic tools.
The kit is plug-and-play, so you can reuse your original cables without cutting wires.
You keep all the standard controls, including the iDrive joystick and the steering wheel buttons.
The new screen turns on in about five seconds, so you can get to apps quickly.
You can go back to the factory setup at any time, as the installation can be fully undone.
Preparing Your BMW E87 for the CarPlay Upgrade
Before you can enjoy wireless CarPlay and Android Auto, you need to reach the factory connections behind your dashboard. That means removing the original CCC radio unit and the iDrive wheel. These parts hide the mounting points and the OEM connectors you’ll reuse. The good news is that the whole job is mechanical, not electrical. You won’t cut a single wire. This installation guide treats the process as a straightforward removal and refit, so you can work calmly from start to finish.
Tools and Safety Checks Before You Begin
Gather a few basic items before you pop the first panel. You’ll want plastic trim removal tools to avoid scratching the dashboard. You’ll also need Torx screwdrivers for the retaining screws and a socket set for the battery terminal. Keep a clean cloth nearby to protect the trim while you work.
Start with a critical safety check. Locate your battery in the boot or engine bay, then disconnect the negative terminal. Leave it off for the entire removal. This step eliminates any risk of shorting a live circuit while you unplug the factory connectors. Work in a cool, shaded spot. Hot interiors make the plastic brittle. A gentle touch beats force every time, so take your time and avoid snapping any clips.
Removing the Factory Radio and iDrive Wheel
Follow this sequence to free the factory electronics:
Unclip the trim surround around the radio. Work from the outer edges with your trim tool, easing each clip slowly. The same approach applies to the iDrive wheel trim. Set both pieces aside on your cloth.
Remove the exposed retaining screws with your Torx driver. Keep them in a small tray or magnetic dish so none roll away.
Ease the CCC head unit forward. Pull it gently, never tug the cables behind it. You’ll see the main power harness and other connectors at the rear.
Photograph the back of the radio unit before unplugging anything. The photos act as your reference when you connect the new screen later. Label each connector with masking tape if you prefer.
Unplug the harnesses by pressing the release tabs, then lower the CCC unit onto a padded surface. Do the same for the iDrive wheel, keeping its cable clear of the mounting points.
Before you move on, check your work. Every connector should be labelled or photographed, and no clips should be left broken. Confirm the factory radio unit rests safely, away from any sharp edges. With the dashboard open and the original hardware out of the way, you’re ready to fit the retrofit carplay screen. This clear space lets you route the new wiring harness without obstruction, ensuring a tidy installation.
Keep this rhythm in mind: remove, label, rest. Follow it for each component. The result is a clean workspace and zero guesswork during reassembly. Once you reach this stage, the hardest part of the retrofit carplay project is behind you. The rest is simply connecting a few plugs and mounting the new display.
Fitting the Apple CarPlay Screen with a BMW Retrofit CarPlay Kit
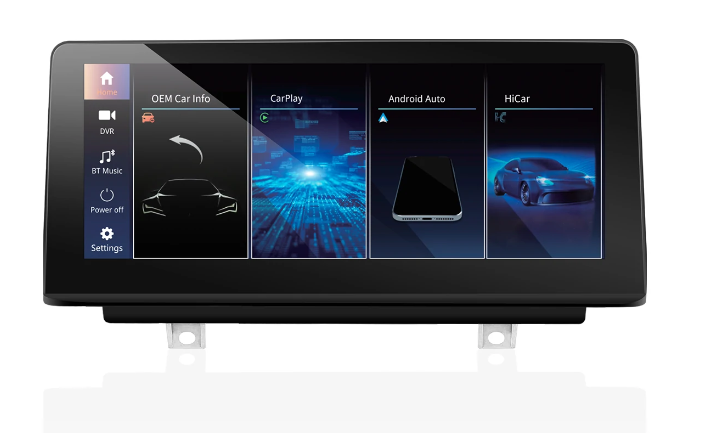
Now comes the exciting part. You swap the old factory display for the 10.25″ Linux screen. This bmw retrofit carplay kit connects through your original car cables. No cutting or splicing is required at any point. The whole process feels like plugging in a new appliance rather than rewiring a car.
Connecting the Plug-and-Play Cables for Apple CarPlay and Android Auto
Your retrofit harness arrives pre-assembled. Every plug matches a factory socket. You simply click each connector into place. Start with the main power plug at the back of the new head unit. Then attach the LVDS cable for video. Next comes the touch and control wiring. Finally, connect the microphone and USB leads if your kit includes them.
This plug-and-play installation is fully reversible. You make no software changes to the vehicle's control unit. That means you can return to the factory setup at any time. Nothing gets coded. Nothing gets flashed. The car's brain stays untouched.
The Linux-based module boots in as little as five seconds. You get a fast, responsive experience from the moment you turn the key. No long waits. No laggy menus. Just instant access to your apps.
Here's the best bit. Your factory radio, amplifier, joystick, command button and steering wheel controls all remain fully supported. Door open warnings still appear. Both your original reversing camera and any retrofitted camera keep working. You gain apple carplay and android auto without losing a single factory feature. That's the beauty of this integration.
Want to add carplay and android auto to your daily drive? This module handles both wirelessly. You also get MirrorLink if you fancy it. The system supports apple carplay, android auto in your bmw, and mirroring from compatible phones. It's a complete connectivity package.
Before you move on, check every connector. Each one should click firmly into place. Tug gently on each harness to confirm a solid seat. Look behind the screen for trapped wires. A pinched cable can cause annoying faults later. Route the wiring neatly along the factory paths. Keep everything clear of sharp edges and moving parts.
Mounting the 10.25″ Screen and Retaining Factory Controls
Slide the new screen into the dashboard aperture. Line up the mounting points with the original screw holes. Press the unit gently until it sits flush. You should see no gaps around the edges. The screen should feel solid, not loose or wobbly.
Secure the screen with the supplied screws. Don't overtighten them. Snug is enough. Plastic threads strip easily if you force them.
Now think about your controls. The iDrive joystick and command button work exactly as before. Your steering wheel buttons still change volume and skip tracks. The factory head unit functions stay intact. This retrofit module respects the original design. It adds modern features without taking anything away.
Check the fit one more time. Run your fingers around the screen's perimeter. Feel for any raised edges or uneven gaps. A flush fit looks factory and protects the screen from stress. Confirm no cables poke out from behind the display. Tuck any loose wiring back into the dash cavity.
Once the screen sits secure, you're ready to test everything. The hard work is done. Now you just need to power up and pair your phone.
Testing Apple CarPlay Before Reassembly
Testing before reassembly saves hours. If something sits loose, you can reach it now. You won’t need to strip the trim again for a simple plug.
Powering Up and Pairing Your Phone Wirelessly
Reconnect the battery. Start the engine. The retrofit module boots in about five seconds. You’ll see the Linux logo, then the home screen. Let it finish startup.
Open your phone’s Bluetooth settings. Look for the head unit’s name. Pair your phone as you would a speaker. The system adds Apple CarPlay and Android Auto wirelessly. You can also try MirrorLink if you wish.
Launch navigation apps from your phone. The map should appear on the upgraded display. Swipe between pages. Check the touch response. The screen should feel smooth and bright. This BMW E87 CarPlay upgrade adds modern connectivity without cutting wires.
If anything lags, inspect the wiring behind the head unit. Fix it now.
Checking Sound, iDrive and Reversing Camera
This step confirms you haven’t lost a factory feature. Turn on the radio. Play music through the amplifier. Adjust the volume with your steering wheel buttons. The sound should match your original setup.
Move the iDrive joystick. Press the command button. Check the menus open as normal. Open a door and check the warning appears. Select reverse gear. Your reversing camera should switch on. If the picture stays black, check the camera connector in the harness. Reseat the harness connection if needed.
CarPlay works through the original connectors. The OEM CarPlay unit preserves every factory system. The retrofit CarPlay kit is fully reversible. The head unit keeps your steering wheel buttons, joystick and amp working.
Watch the dashboard for warning lights. Look for error messages on the module. Take a short drive. The module connects wirelessly without dropouts. Check the module settings. Then turn off the engine and disconnect the battery. With everything verified, you can refit the trim. The module is ready for daily use.
Reassembly and Final Installation Guide Checks
Putting everything back correctly keeps your new screen safe and brings back the factory look. If you rush, you might crack clips or squash cables. So take your time here. You are almost finished.
Refitting the Trim and iDrive Wheel
Work in the opposite order to taking things apart. Put the iDrive wheel back into its housing first. Reconnect its plug until you hear a click. Then push the trim clips in with your palm. A firm, even push seats each clip. Never hit or force a panel. If a clip will not go in, check for a trapped cable behind it.
Refit the radio surround next. Line up the locating tabs before you push. The panels should sit flush with no gaps. Run your fingers along every seam. Feel for raised edges or wobble. A loose trim piece rattles on rough roads. That noise will annoy you later.
Final Checklist and Support Resources
Tick off each item before you call the job done:
Screen secure and flush in the aperture
Every connector seated, including the retrofit harness
Battery negative terminal reconnected
CarPlay and Android Auto paired wirelessly
Factory radio, iDrive joystick and steering wheel buttons tested
Reversing camera working
No loose trim or warning lights
Your bypass harness and wiring should stay tucked away from moving parts. Confirm the module boots cleanly one last time.
Stuck on anything? The supplier's manual covers most questions. BMW E87 owner forums offer real-world tips from other DIYers. A professional installer is always an option if a step feels uncertain. This installation guide exists to help you finish confidently.
You have taken out the factory radio, fitted the plug-and-play screen, tested Apple CarPlay, and put the trim back. That completes the BMW E87 CarPlay upgrade.
Tick off your final checks:
Factory radio and iDrive wheel taken out safely
New screen connected with the original cables
Apple CarPlay and Android Auto paired
Factory controls and reversing camera checked
Dashboard put back in place
Stuck? Read the supplier's manual, ask on BMW E87 forums, or contact a professional installer.
Your CarPlay module keeps every factory control. You get wireless CarPlay in a modern cabin. A careful DIYer can finish this CarPlay job. The result is worth it.
FAQ
Will this screen fit my BMW E87?
It fits the BMW 1 Series E87 built between 2004 and 2008 with the CCC system. Check your car's head unit first. If you see CCC, you're good to go. Other systems need a different kit.
Do I need to code or cut any wires?
No. The kit is true plug-and-play. You reuse your original car cables. Nothing gets cut, spliced or coded. Your car's control unit stays untouched, so the whole job is fully reversible.
How fast does the new screen start up?
The Linux-based system boots in as little as five seconds. You turn the key and the screen is ready. No long waits, no laggy menus. Just quick access to your apps.
Will I lose my factory controls?
Not at all. Your factory radio, amplifier, iDrive joystick, command button and steering wheel controls all keep working. Door open warnings and both original and retrofitted reversing cameras stay supported too.
Can I go back to the factory setup later?
Yes. The installation makes no software changes to your vehicle. You can return to the original setup whenever you like. Nothing is permanent, so you keep full flexibility.
See Also
Always Consult This Essential Guide Before Retrofitting Apple CarPlay In Your BMW E90
Upgrade Your BMW Interface With Wireless CarPlay Retrofit From Leadsign Today
A Step By Step Guide To Upgrading Your 2017 Audi Q5 With Apple CarPlay
The Simplest Method To Modernise Your BMW E60 With A Screen Upgrade
Installing Apple CarPlay And Android Auto On Your 2013 To 2016 Audi A4 Screen