Apple CarPlay, Android Auto, and the BMW F10 Screen Upgrade Guide

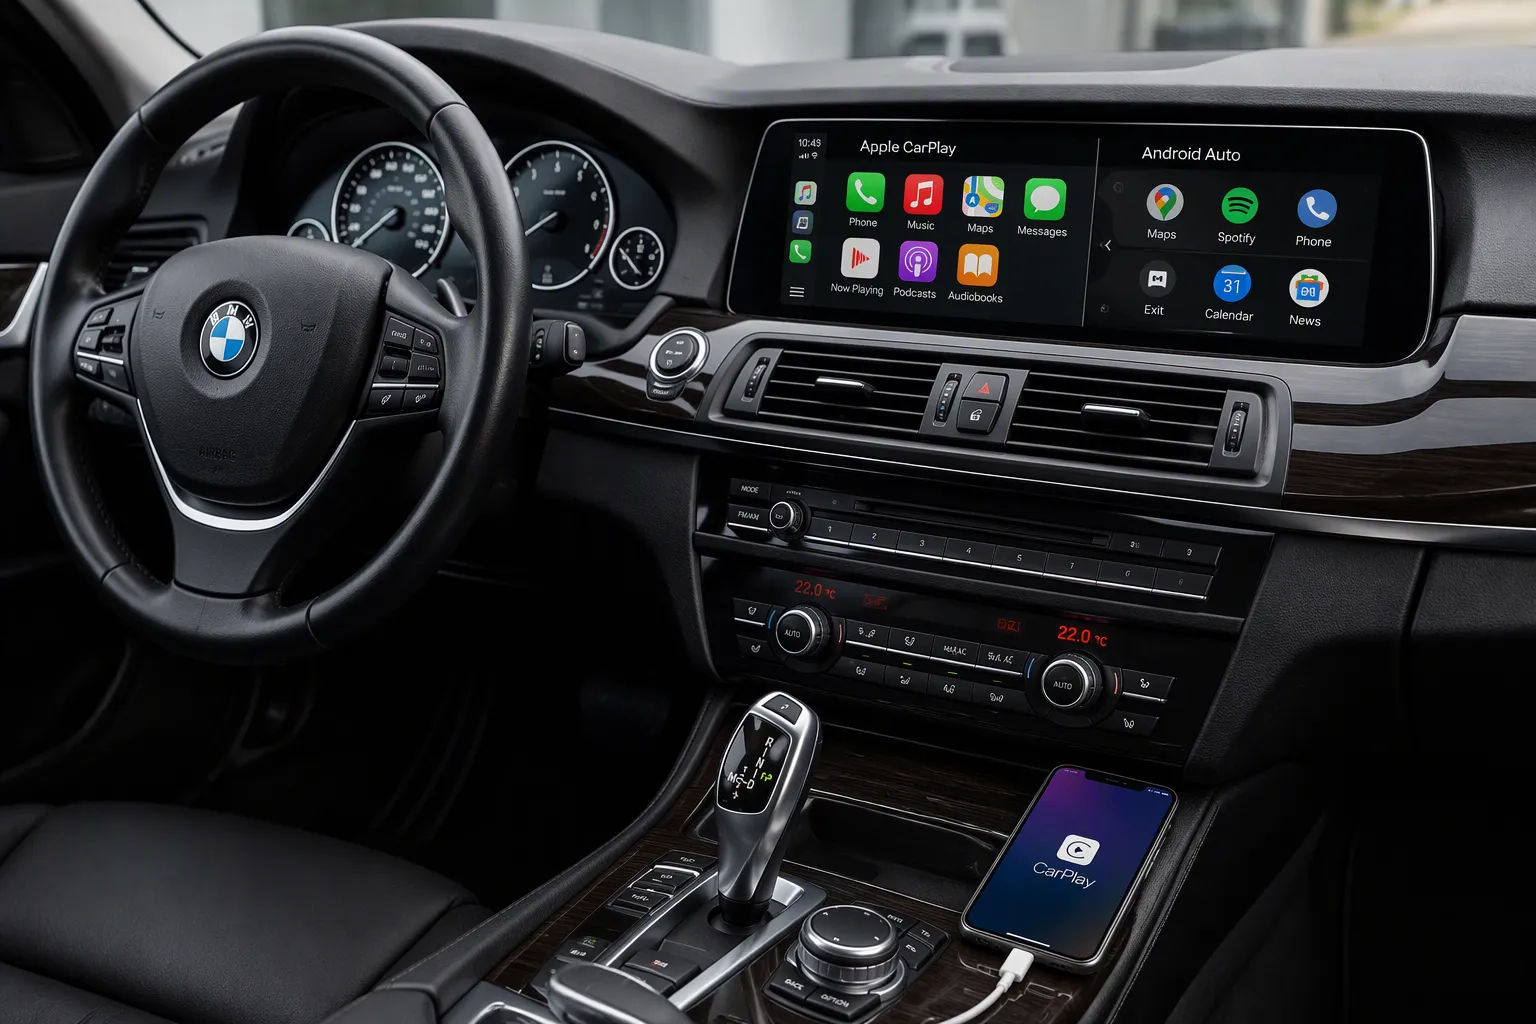
Yes, you can add Apple CarPlay and Android Auto to your BMW F10. The factory iDrive system never got an official update for these features. Aftermarket parts fill that gap cleanly and reliably.
A BMW F10 screen upgrade replaces or improves the current screen while keeping all original functions. You keep your radio, steering wheel controls, and factory menus. It adds modern connectivity to your everyday drive.
You have more choices than you think. The upgrade you need depends on your car’s iDrive version. Owners of nearly any F10 can find a working option. The right kit turns your cabin into a modern, connected space.
Key Takeaways
You can add Apple CarPlay and Android Auto to your BMW F10 with aftermarket parts.
Identify your iDrive system (CIC or NBT) to choose the right upgrade kit.
For CIC cars (2010-2012), a 10.25-inch Linux screen offers a plug-and-play upgrade.
For NBT cars, an MMI Prime retrofit box keeps the original screen and adds CarPlay.
The Linux screen retains all factory controls and requires no coding.
Switch between iDrive and CarPlay by holding the Menu button.
Use the car's factory microphone and Bluetooth for clear calls and audio.
Most connectivity issues resolve with a clean re-pair of your phone.
BMW F10 Screen Upgrade Compatibility
Before you spend money, you must identify your iDrive system. System compatibility depends on whether your car uses CIC or NBT. A BMW F10 screen upgrade only works when the kit matches your vehicle's generation. Knowing your iDrive version prevents wasted time. Choose the wrong part, and the screen stays dark. The good news is that you can check everything yourself in minutes.
Identifying Your iDrive System
Your iDrive version hides in the on-board menus. You can retrieve it with the controller and the screen. Follow this exact sequence.
Press the Menu button on the iDrive controller.
Select Navigation.
Press the Options button, the small button beside the screen.
Go to Settings → Position & Version History.
Read the version string. A value of
CIC_means CIC,NBT_means NBT, andNBTEVO_means NBT EVO.
With NBT, the whole line highlights red. CIC uses a red box outline.
This styling clue works even when the version number is small. The controller also looks different. CIC cars use a round knob with a smooth touchpad on top. NBT cars use a slim rectangular touchpad controller. You can use either clue to confirm your iDrive generation.
What is CIC and How Does It Affect Upgrading?
CIC stands for Car Information Computer. BMW installed it in early F10 models. CIC offered a 6.5-inch or 8.8-inch non-touch screen. The OEM screen uses a 6-pin LVDS video connector. These older systems do not support CarPlay or Android Auto at all.
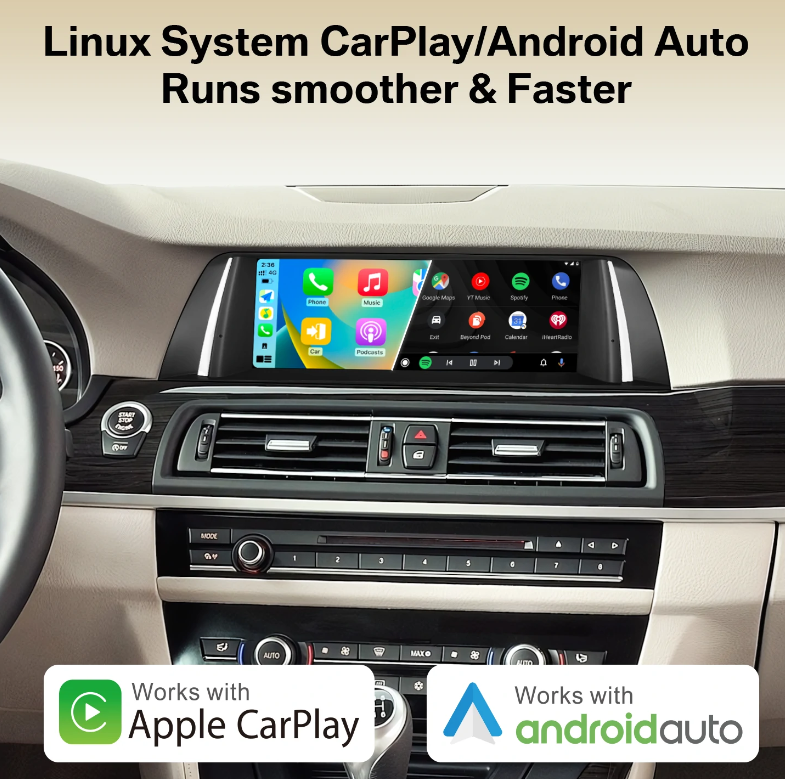
For a CIC car, the upgrade path is clear. You need a replacement screen or an MMI interface box. The CIC iDrive generation lacks native support for modern phone projection. So the simplest solution is the 10.25-inch Linux screen. This product is made for CIC systems in 2010-2012 F10/F11 vehicles. It connects with the original car cables. There is no cutting, splicing, or coding involved. It retains the factory radio, amplifier, joystick, and steering wheel controls. It also keeps door open warnings and both original and retrofitted cameras.
What is NBT and Why is It Easier to Upgrade?
NBT means Next Big Thing. NBT is the newer iDrive generation. BMW introduced NBT in September 2012. NBT hardware processes data faster. It also has better support among aftermarket retrofit brands.
Upgrading NBT is easier because you can keep the original screen. An MMI Prime retrofit box plugs directly into the NBT system. This unit is compatible with wired and wireless phone connections. It adds wireless Apple CarPlay, wireless Android Auto, and phone mirroring. You keep the factory menus. You switch between environments with a controller press. Owners who want a stock look prefer this method.
Checking Your F10's Production Date
Your iDrive system changes at a known point in production. Use the table below to see where your car falls.
iDrive System | Production Date Range |
|---|---|
CIC | |
NBT |
Your production date appears on the driver's door jamb sticker. An online VIN decoder can also show the exact month. The date gives you a second confirmation. It prevents you from relying on a previous owner's word. This date matters for physical fit. A CIC Linux screen will not fit an NBT dashboard without extra adapters. You must match the kit to your car's generation.
The Role of the Screen Type
The original panel uses a 6-pin LVDS connector. The factory screen size can be 6.5 inches, 8.8 inches, or 10.2 inches. Size is not the only issue. CIC and NBT use different video protocols. Even if two panels share the same connector, the data stream can differ. You cannot assume interchangeability.
Remember the main point of system compatibility. The 10.25-inch Linux screen pairs with CIC cars from 2010-2012. This display delivers a 1920x720 resolution. It also has a 3–5 second boot time. The Linux operating system keeps the interface stable. For NBT cars, the MMI Prime retrofit box remains the common choice. Both upgrade paths are compatible with Apple CarPlay and Android Auto. The first path swaps the entire unit. The second path keeps the factory unit and adds a processor module.
Comparing BMW F10 Screen Upgrade Options
When you plan your bmw f10 screen upgrade, you have three main choices. Each one changes your driving setup in a different way. Your iDrive generation decides which choice will work. Whether you want to keep the original look also matters. Think about how much you use your phone. That will help you decide quickly.
The first choice adds a retrofit interface box. The second choice swaps your screen for a bigger touchscreen. The third choice puts a full Android unit in place of your factory dashboard screen. Each one supports Apple CarPlay and Android Auto in its own way.
MMI Prime Retrofit Kit
The MMI Prime acts like a bridge between the original head unit and the original screen. When you do not turn it on, the original video signal passes through without any change. Your car works just like it did from the factory. When you turn it on, the MMI's video signal takes over the screen instead. You can switch between the MMI and the original head unit whenever you want. This design makes the retrofit an optional add-on instead of a replacement.
This interface connects right to BMW's stock hardware. You do not have to replace the factory screen. You do not have to add new physical controls. The car's display keeps showing all content. You control everything with the original controller and buttons. Apple CarPlay and Android Auto become a built-in layer. The factory screen stays as it is. The box fits behind the dashboard. It stays completely out of sight.
This approach works well for NBT-equipped F10 models from later production. The dashboard keeps a completely stock look. Many owners pick this route because it looks like a factory feature. The module connects to existing wiring without cutting or splicing. The retrofit does not need any changes to the car's computer.
The 10.25-Inch Larger Touchscreen Solution
For CIC systems in 2010-2012 F10 models, the larger touchscreen path gives you a full visual upgrade. If you want a bigger iDrive screen, this replacement delivers. This 10.25-inch panel fits the original dashboard opening. It connects with the original car cables. The installation is plug-and-play and does not damage anything. You keep your factory radio, amplifier, joystick, and steering wheel controls. Door open warnings and both original and retrofitted cameras still work.
The panel gives you a high-resolution display at 1920*720 resolution. The Linux operating system boots up fast. You can use the infotainment screen about 3 to 5 seconds after starting the car. Wireless Apple CarPlay connects through WLAN and Bluetooth. Wireless Android Auto works with compatible phones. Older phones can use a wired USB connection instead. The unit also supports MirrorLink through Airplay or Autolink. This screen mirroring function lets you show phone content on a bigger, clearer display. Touch input responds quickly and smoothly.
No software changes to the vehicle control unit are needed. You get a bigger screen without losing any factory function. The factory menu still opens. CarPlay appears as a separate environment when you need it. This Linux unit keeps the original controls fully active. It retrofits cleanly into the CIC dashboard. Because it retrofits using the original connectors, installation stays simple. Coding is not needed for this upgrade. Overall, it modernizes your infotainment experience without sacrifices.
Android Screen Replacement
The full Android replacement gives you access to the Google Play Store. You can install apps right on the head unit. You can customize the interface much more than the other options allow. This route also keeps the original controller, steering wheel control, backup camera, and the radio system.
However, this option changes the car's character more dramatically. The factory look disappears from the dashboard. Installation is also harder than the plug-and-play path. You may need to move fiber optic cables to the new plug. A mistake here can cause the factory radio to stop working. If you enjoy customizing software, this route offers the most freedom.
Audio from the Android system relies on the BMW AUX mode. If AUX is not turned on or the volume stays low, you hear no sound. You also need the correct LVDS plug. The 4-pin and 6-pin versions are different. A wrong model can produce a black picture or no signal. Always power off the car and remove the key before installing. Improper work can blow a fuse. If you prefer a simple install, choose differently.
Weigh these risks before you choose. The Android replacement suits owners who want maximum flexibility. The Linux unit suits owners who want a simple upgrade. The MMI Prime suits owners who want to keep everything original. Match the option to your comfort level and physical fit requirements.
Step-by-Step Installation Guide
Essential Tools and Preparation
Get your tools ready before you start working on the car. You need pick tools and trim tools to take apart the upper and lower trim and faceplate on the dash. A screwdriver with a T20 bit removes screws during trim, faceplate, and head unit removal. A ratchet with a 10mm bit disconnects the battery first. You also need the MMI module harness and the cables that come with it. If your car has a Combox module, add a cable to the OEM microphone and AUX port.
Tool Category | Specific Tool / Equipment | Purpose |
|---|---|---|
Trim removal tools | Pick tools and trim tools | Take apart upper and lower trim and faceplate |
Screwdrivers | Screwdriver with T20 bit | Remove screws during trim, faceplate, and head unit removal |
Other equipment | Ratchet with 10mm bit | Disconnect the battery before electrical work |
Other equipment | MMI module harness and supplied cables | Connect the head unit to the MMI module and new screen |
Other equipment | Cable to OEM microphone and AUX port | Microphone and AUX connectivity with Combox module |
Always disconnect the battery before you work on electrical parts. This step keeps you and the car safe. Lay out every part on a clean cloth. Check the kit against the packing list. A missing cable stops the job right away.
Installing the 10.25-Inch Linux Screen
This screen upgrade is plug-and-play. It uses the original car cables. You do not cut or splice any wire. The process does not damage anything. You keep the factory radio, amplifier, joystick, and steering wheel controls. Door open warnings and both original and retrofitted cameras still work.
Accessing the Head Unit and Making Connections
Remove the upper and lower trim with your pick tools. Take off the faceplate. Unscrew the fasteners with your T20 bit. Pull the factory head unit forward. Unplug the original connectors. Plug the new harness into the head unit. Connect the other end to the new screen. Every connector fits the original ports. No adapter is needed.
Routing Cables and Reassembling the Dashboard
Route the cables behind the dash. Keep them away from moving parts. Tuck the harness into empty space. Slide the new screen into the original opening. It fits the factory mounts. Reconnect the battery. Test the screen before you push the trim back. One owner reported: "Installation was simple and quick. I had it done in less than an hour." Reassemble the faceplate and trim in reverse order.
The Coding Process for Other Options
The Linux screen needs no software coding. Other retrofit paths do. The factory NBT head unit does not natively support Apple CarPlay. Turning it on requires flashing to NBT EVO software and professional coding. For NBT EVO units, CarPlay activation happens through remote coding. That procedure needs a laptop with internet access, an ENET cable, and about 30–60 minutes of session time. Android Auto turns on separately through the same coding pathway.
Retrofit Option | Coding / OBD Programming Required? | Notes |
|---|---|---|
CarPlay MMI Prime (add-on module) | No | Plug-and-play; no permanent modifications |
Full NBT EVO head-unit upgrade (ID5/ID6) | Yes | Full coding by the vendor; CarPlay pre-installed |
Achieving Seamless OEM Integration
Maintaining Factory Controls
The 10.25-inch Linux screen keeps all factory controls working. Your radio still works the same way. The amplifier gets the same signals. The joystick on the center console reacts when you touch it. Steering wheel buttons still change volume and tracks. Door open warnings still show on the screen. Both original and retrofitted backup cameras show their video right away.
This upgrade does not replace the car's main computer. It adds a new layer on top. The iDrive controller still lets you move through menus. You use the same buttons for climate, media, and navigation. The screen fits the original dashboard opening. It uses the factory mounts. Nothing looks out of place. You get an OEM upgrade that keeps the original cabin look and feel.
Switching Between iDrive and CarPlay
A simple press moves you between the original iDrive menu and CarPlay. Hold the Menu button on the controller. The screen switches in about one second. When you switch back, your factory radio screen returns. This design gives you two systems on the same display.
The Linux screen starts in about five seconds. CarPlay or Android Auto appears automatically after that. You can run CarPlay navigation while listening to music. One user said music played while using Waze with CarPlay active. The iDrive system stays ready in the background. You never lose access to the car's built-in functions. This smooth OEM integration makes the upgrade feel like a factory option.
Audio and Microphone Integration
For best sound, pay attention to the audio routing. The retrofit can send music through the AUX input. Some users say this way has poor audio quality. A better choice is using your car's original Bluetooth for music. Keep CarPlay active for navigation and apps. Let iDrive Bluetooth handle the sound. This setup gives clear audio without extra cables.
Phone calls work through the car's original Bluetooth system. The screen housing has a built-in microphone. Users say the microphone quality is very bad. Use the car's factory microphone instead. Connect your phone to the BMW Bluetooth for calls. When Bluetooth handles calls, the factory mic picks up your voice. One user found that callers could not hear them when using the built-in mic. Switching to the car's AUX and original microphone fixed the problem. This way of connecting your smartphone keeps calls clear and music strong.
Troubleshooting Common Upgrade Issues
Even a well-planned upgrade can hit a snag. Most problems have simple fixes. You can solve them yourself with a few checks. This section walks you through the most common issues and their solutions.
Screen is Blank or Not Responding
A blank screen after installation usually points to a connection problem. Start by checking the video cable. The LVDS connector must sit firmly in its port. A loose plug produces a black picture or no signal at all. Push the connector in until it clicks. If the screen stays dark, inspect the harness for bent pins. A single bent pin breaks the video signal.
Power is the next thing to verify. Confirm that the new unit receives power from the original harness. A blown fuse in the car can cut power to the head unit. Check the fuse box for any blown fuses related to the infotainment system. Replace any bad fuse with one of the same rating.
If the screen powers on but does not respond to touch, the issue may be a software glitch. Turn the car off and remove the key. Wait a full minute. Restart the car and let the system boot. The Linux unit needs about five seconds to start. Give it that time before you try any input. If the problem continues, disconnect the battery for a few minutes and reconnect it. This hard reset clears temporary errors.
No Sound or Microphone Problems
Audio problems after a screen upgrade often come from settings, not hardware. Work through the checks below in order.
In the settings menu, select the external microphone and factory microphone option. The factory password is
070305.Remove the protective hose from the MIC IN connector on the ISO harness. Connect it to the MIC IN on the USB harness.
Not all models support OEM microphone use. Models with an 8.8-inch screen do not support the OEM MIC.
If music plays outside CarPlay but not inside it, your phone may be muting an app or the entire phone when CarPlay engages. Adjust the internal app settings and the overall phone sound settings on your iPhone.
AUX volume is another common culprit. When you use AUX input or a CarPlay MMI PRO retrofit, sound may be too quiet or distorted. Go to Main menu > Multimedia > External devices > AUX input. Adjust the AUX volume to a mid-level setting and match it roughly to the FM volume level.
For microphone problems, try these fixes:
Hard reset your iPhone.
Update iOS to the latest version.
Remove the BMW ID from the CarPlay devices list in your iPhone settings.
Redo the CarPlay and iDrive pairing process.
Verify the mic works through iDrive without CarPlay.
Ensure your phone is not auto-muting the microphone when connecting to CarPlay.
Confirm Siri is enabled under Siri & Search.
Some BMWs require sound output through the AUX port. Select AUX in the original BMW audio menu. Original audio and Android audio cannot play at the same time. If a Combox is present in the trunk, connect the Android screen audio output to the armrest AUX connector. Without this connection, you get no audio.
For Combox users, coding out VO options 6NF and 6FL can make the front AUX active. Those VO features become inactive after this change. For CIC systems, activate AUX in the main unit with these coding values: CDMM_AUX_HU aktiv, CDMM_USB_AUDIO_SINGLE nicht_aktiv, CDMM_USB_AUDIO_DOUBLE_0B nicht_aktiv.
Area | Troubleshooting Step |
|---|---|
Radio check | Press FM/AM on the original CD player. If no radio sound, check and reconnect the fiber optic cable to the Android cable male connector. |
AUX requirement | Some BMWs require sound output via the AUX port. Switch AUX manually or automatically. |
Automatic AUX mode | In Android settings, enable "Automatically switch AUX" or set AUX Switching modes to Automatic in Factory settings (code |
Manual AUX mode | Disable auto AUX. Then in the OEM radio/CD panel, choose Audio-AUX before returning to the Android screen. |
Amplifier scheme | Set "AUX Switching scheme" according to head unit brand: Scheme A for Alpine, Scheme H for Harman, Customize for others. |
Volume values | Keep AUX1 and AUX2 values at 0 in both modes. |
CIC volume limitation | If CIC has AUX but cannot adjust AUX volume, it must be activated at a tuning store or remotely. |
Connectivity Issues with Your Phone
Wireless CarPlay and Android Auto depend on a stable Bluetooth and Wi-Fi link. Several things can break that link. The table below lists the reported causes and what you can do about each one.
Reported Cause of Disconnect | What You Can Do |
|---|---|
Head unit not fully booted or time not synced | Wait for the unit to finish booting before you start wireless Android Auto. The unit may boot with an incorrect 1970 date and need time to sync. |
Wireless connection degrading over time | After about a month, the wireless connection may worsen and sometimes fail to connect automatically. This may be a software issue. |
Phone compatibility or age | Wireless Android Auto works better with a fairly modern phone, such as a Pixel 6. |
Phone out of range while ignition is on | The connection can drop if your phone leaves the car's range while the ignition stays on. |
Car ignition started without phone in range | If you start the car while your phone is not nearby, wireless Android Auto may not connect or reconnect properly. |
Workarounds | Turn Bluetooth off and back on on your phone. Or turn the ignition off and on to force a reconnect. |
For Bluetooth and Wi-Fi pairing problems, follow this sequence:
On your iPhone, turn on Bluetooth, Wi-Fi, and Siri.
On the car screen, open the mobile devices settings. Confirm that Bluetooth, Wi-Fi, and Apple CarPlay are enabled.
Start a new device pairing. Select phone calls and audio.
On your iPhone, go to Settings > General > CarPlay. Choose the BMW or aftermarket CarPlay entry.
Confirm the PIN, Bluetooth, and other pairing prompts on both the phone and the screen.
Select Apple CarPlay on the car display to complete the connection.
If the connection still fails, restart your iPhone and the aftermarket CarPlay unit. Update iOS. Repeat the pairing process from scratch.
If you use multiple iPhones, give each phone a distinct name under Settings > General > About > Name. Then pair again.
If CarPlay is missing from iPhone settings, enable it under Settings > Screen Time > Content & Privacy Restrictions > Allowed Apps.
After re-pairing, test Siri or voice recognition to confirm the Bluetooth and Wi-Fi connection is active.
Most connectivity problems trace back to pairing order or phone settings. A clean re-pair solves the majority of them. Keep your phone software current. Stay within range when you start the car. These habits prevent most dropouts before they happen.
Putting a new screen in your F10 gives you modern navigation, streaming media, and clear hands-free calls every day. You get Apple CarPlay and Android Auto without losing the factory systems you already like. A bmw f10 screen upgrade turns your cabin into a connected space.
Pick the Linux screen for a 2010-2012 CIC model; it fits, works wirelessly, and keeps every factory control. The high-resolution display starts up in about five seconds. Want a stock look? MMI Prime keeps the original NBT screen. Want app freedom? Android replacement opens the Play Store.
Choose based on your technical comfort and the features you want. Every option modernizes your BMW, keeping it fun to drive for years ahead.
FAQ
Which BMW F10 models can use the 10.25-inch Linux screen?
Your car must have the CIC iDrive system. That means production between 03/2010 and 09/2012. Check the version string in your iDrive menu. A value like CIC_ confirms compatibility. NBT models need a different solution.
Does the upgrade remove my factory iDrive functions?
No. The Linux screen keeps your radio, amplifier, joystick, steering wheel controls, door warnings, and cameras. You switch between iDrive and CarPlay with a press. The original system stays fully intact.
Do I need coding or software changes?
No. The 10.25-inch Linux screen is plug-and-play. It uses original cables. You do not cut wires and do not code the car. MMI Prime also needs no coding. A full NBT EVO head unit upgrade requires professional coding.
How do I switch between CarPlay and the original iDrive menu?
Hold the Menu button on the iDrive controller. The screen changes in about one second. The Linux unit boots in about five seconds. CarPlay or Android Auto appears automatically. You can return to factory menus anytime.
Why is there no sound from CarPlay?
Check AUX settings first. Some BMWs send CarPlay audio through the AUX port. Select AUX in the original audio menu. Adjust AUX volume to match FM. For best quality, use the car's original Bluetooth for music. Keep CarPlay for navigation and apps.
How do I fix microphone problems during calls?
Use the car's factory microphone instead of the screen's built-in mic. Pair your phone to BMW Bluetooth for calls. In settings, choose the external microphone option. Verify Siri is on and iOS is updated.
Can I install the screen myself?
Yes. You need trim tools, a T20 screwdriver, and a 10mm ratchet. Disconnect the battery first. Unplug original connectors and plug in the new harness. Route cables and remount the screen. Many owners finish in less than an hour.
See Also
Install Apple CarPlay And Android Auto On Audi A4 2013-2016 Screen
Transform Your BMW 3 Or 5 Series Into Modern CarPlay Ride
Never Retrofit BMW E90 Apple CarPlay Without Reading This Guide First