BMW X1 E84 Screen Upgrade with Apple CarPlay | Leadsign

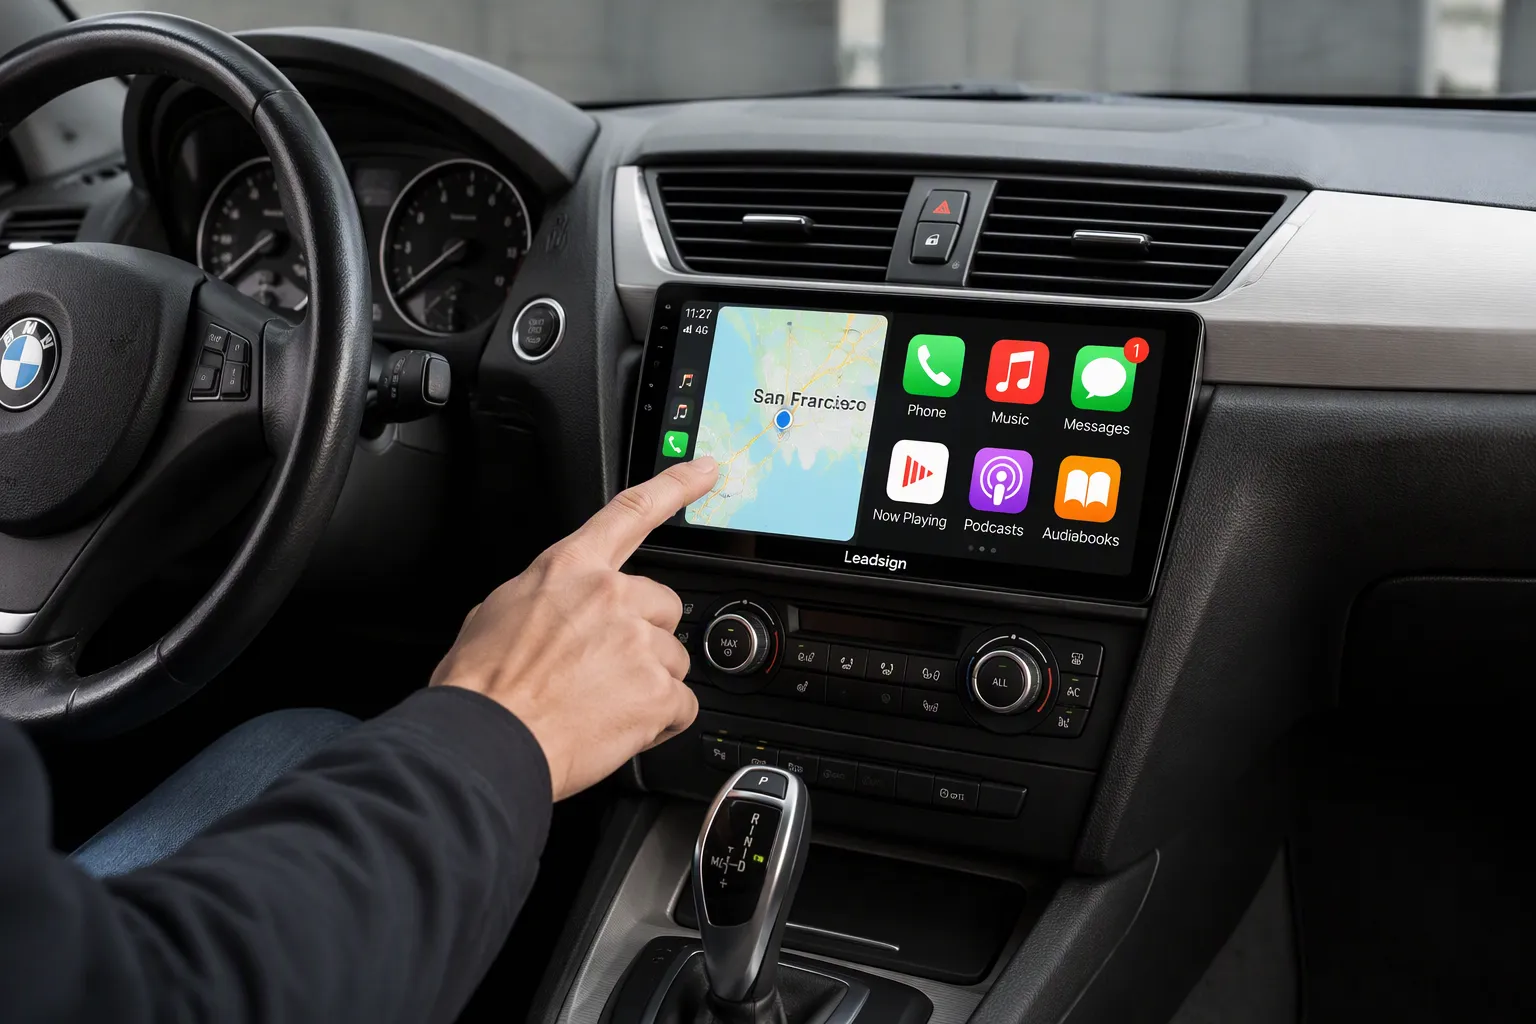
Yes, you can install a 10.25 inch display in your BMW X1 E84. This tutorial walks you through every stage of the process. You will check compatibility first, then remove the old parts, and finally test your new setup.
The Leadsign bmw x1 e84 screen upgrade fits 2011–2015 X1 E84 models with the CIC system. Plug-and-play connectors make the job simple. You do not need to cut wires or change vehicle coding.
This head unit upgrade keeps your factory controls working. Follow each step with confidence. You will enjoy a modern screen and wireless Apple CarPlay in no time.
Key Takeaways
This upgrade works with BMW X1 E84 models from 2011 to 2015 that have the CIC system. Check your screen and connector first.
The 10.25-inch screen uses plug-and-play connectors. You do not cut wires or change vehicle coding. Installation stays non-destructive.
Wireless Apple CarPlay and Android Auto link your phone on their own. You get maps, music, and apps on a clear HD screen.
The factory controls still work after the upgrade. You can use your iDrive knob, steering wheel buttons, and original radio without losing any features.
You can finish the whole upgrade in about one hour. Take out the old display, put in the new screen, and check each connection carefully.
Why Choose the BMW X1 E84 Screen Upgrade
Factory Screen Limitations
The factory display in your BMW X1 E84 looks small and old. You only see basic radio info and simple vehicle status. The display does not work with modern smartphones. You cannot see navigation maps clearly. The small screen makes you look away from the road. That distraction adds danger every time you drive.
The original CIC system still works well. But its interface feels outdated. Many drivers want a bigger screen with sharper graphics. The factory unit also limits your entertainment choices. You cannot stream music from your phone easily. You cannot open your favorite apps. These problems make daily driving less fun.
Leadsign 10.25-Inch Screen Benefits
The Leadsign upgrade fixes these problems. This 10.25-inch android screen replaces your factory display. It uses the original car cables. The display plugs right into your factory harness. You do not need to cut or splice wires. You also do not need coding or vehicle control unit changes. This installation is a true plug-and-play retrofit.
This android screen gives you bright colors and sharp text. The hd resolution makes every icon clear. The hd touch screen reacts right away to your fingers. A capacitive screen gives you smooth multi-touch control. You can swipe, pinch, and tap just like on a modern tablet. The system starts in about 5 seconds. You see content right away. An octa-cores cpu processor and 8gb ram keep the system fast and quick.
Wireless Apple CarPlay connects your iPhone on its own. Wireless Android Auto works the same way. You can also use MirrorLink. The aftermarket navigation system gives you real-time directions. The android navigation interface is simple and easy to use. The display keeps its brightness high and colors accurate. Your factory iDrive controller and steering wheel buttons still work. Door warnings and original radio remain fully functional. You gain a larger screen without losing any factory features.
BMW X1 E84 Head Unit Upgrade: What You Need
Kit Contents and Required Tools
Your new android screen kit arrives with everything you need for a clean install. The package includes the 10.25-inch display unit, a plug-and-play wiring harness, and original cables that match your factory connectors. You also get a GPS antenna, a USB cable, and mounting brackets. These parts let you complete the head unit upgrade without any cutting or splicing.
Gather a few basic tools before you start. You need trim removal tools to pry dashboard panels without breaking clips. A Phillips screwdriver helps with bracket screws. A socket set works for larger bolts behind the dash. Keep a soft cloth nearby to protect surfaces. You may also want a plastic pry bar for tight spots. These tools are common in most garages.
Confirm CIC Compatibility
Check your vehicle before you order. This upgrade fits 2011–2015 X1 E84 models with the CIC system. Open the settings menu on your oem bmw display. Look for specific visual cues that identify CIC. The table below shows what to check.
Identification Method | Details for BMW X1 E84 |
|---|---|
Production years for CIC in X1 E84 | 10/2009 – 06/2015 (covers the 2011–2015 range) |
Head unit check | Only one CD/DVD slot (no second drive), because CIC has an internal hard drive |
Screen check | Main menu shows a red highlight border on all four sides when a menu option is selected |
Controller check | Revised iDrive controller knob (one of two CIC versions) |
The factory cic screen shows a red border highlight when you select a menu option. Your head unit has only one CD/DVD slot. The iDrive controller knob has a revised shape. These signs confirm the CIC system. You can also verify your production year falls within the supported range. Send photos of your oem display and connector to Leadsign for verification. This step ensures the new screen fits your car perfectly.
Step-by-Step BMW X1 E84 Installation Guide
Remove the Factory Display
Follow these step by step instructions to remove your old display safely. Work in a well-lit area. Give yourself about thirty minutes for this stage.
Turn off your engine. Remove the key from the ignition. Wait a few minutes for all systems to power down. This step protects you from electrical shocks.
Locate the negative terminal on your battery. Disconnect the negative cable with a socket set. This action cuts power to the head unit. You prevent short circuits during the removal process.
Use trim removal tools to pry the dashboard trim panel. Start at the bottom edge near the climate controls. Work slowly around the panel. The clips hold tight. Apply steady pressure. You hear a soft click when each clip releases. Never yank the trim. That action breaks plastic tabs.
Set the trim panel aside on a soft cloth. Locate the screws that hold the factory display. Most X1 E84 models use four Phillips screws. Remove them with your screwdriver. Keep the screws in a small cup. You need them later for the new bracket.
Pull the factory display forward gently. Reach behind the unit. Press the release tab on the original harness connector. Unplug the connector. The display comes free. Set the old unit aside.
Install the New Screen and Wiring
Now you complete the retrofit & install phase. This stage takes about twenty minutes. The android screen uses plug-and-play connectors. You do not cut or splice any wires.
Take the new mounting brackets from the kit. Attach them to the back of your new screen. Use the screws you removed earlier. Tighten them snug. Do not overtighten.
Connect the plug-and-play harness to the back of the new screen. The connector clicks into place. You hear a firm snap. This sound confirms a secure fit.
Route the GPS antenna cable behind the dashboard. Place the antenna on top of the dash near the windshield. This location gives strong satellite reception.
Plug the original car cables into the new harness. The connectors match your factory plugs. No adapter is needed. This design keeps your retrofit non-destructive.
Slide the new screen into the dashboard opening. Align the brackets with the screw holes. Insert the four screws. Tighten them in a cross pattern. This method keeps the screen level.
Reconnect the negative battery cable. Push the dashboard trim panel back into place. Press around the edges until every clip snaps. You feel the panel sit flush.
Turn on your ignition. The screen boots in about five seconds. You see the main menu appear. The bmw x1 e84 screen upgrade is now physically complete.
This head unit upgrade preserves all factory wiring. You can reverse the process at any time. The installation guide keeps your car intact.
Android Navigation Retrofit: Wireless Apple CarPlay Setup
Connect Your Phone for Wireless CarPlay
Your new Android screen is ready. The next step is the Android navigation retrofit that turns on wireless Apple CarPlay. You do not need a USB cable for this. The system connects to your iPhone without wires.
Follow these steps to pair your iPhone:
Turn on your ignition and wait for the Android unit to start. The main menu shows up in about five seconds.
Open the Settings menu on the screen and tap the CarPlay icon.
Turn on Bluetooth on your iPhone and open the Wi-Fi settings.
Find the device name in your phone's Bluetooth list, then tap it.
A pairing code shows on both screens. Confirm the code on your iPhone.
Tap Accept when the phone asks to use CarPlay without wires.
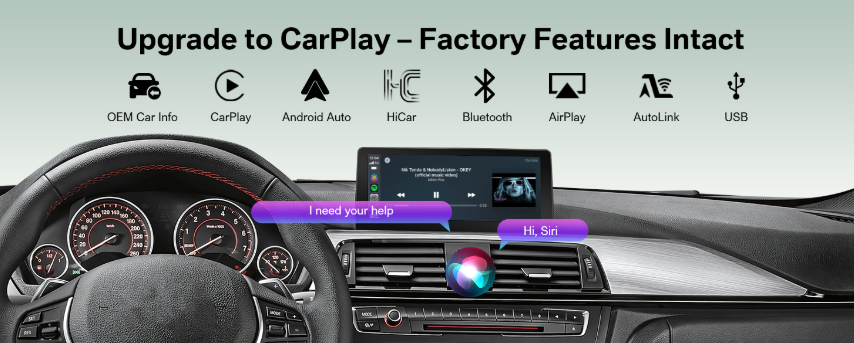
The screen changes to the CarPlay view within seconds. Now the big display shows your phone apps, maps, and messages. The multimedia / Apple CarPlay system works with touch and voice commands. Siri uses the factory microphone. You can keep your phone in your pocket or bag.
The factory iDrive controller still runs the menu. You can turn the knob to scroll and press it to choose. The center console joystick does the same thing. You can use the steering wheel controls to change volume, skip tracks, and answer calls without lifting your hands. Door open warnings still show on the cluster. These factory features stay exactly the same after the retrofit.
Android Auto and MirrorLink Setup
People with Android phones get the same wireless connection. The Android screen supports wireless Android Auto right away. Open the Settings menu on the screen. Choose Android Auto from the connection list. On your phone, turn on Bluetooth and Wi-Fi. The phone finds the Android unit by itself. Tap the pairing request on your phone. The Android Auto screen loads on the display. Google Maps, Spotify, and messaging apps appear in a clean layout.
MirrorLink is another choice for phones that work with it. This feature shows your phone screen directly on the display. Open the MirrorLink app on your phone. Connect through the same wireless menu on the Android screen. The 10.25-inch display shows your phone screen. You can use apps that do not support CarPlay or Android Auto.
The built-in navigation GPS antenna keeps your maps accurate. You get live traffic updates and step-by-step directions. If you miss a turn, the system makes a new route quickly.
A backup camera also works with this system. It can use your original camera or a new camera unit. When you put the car in reverse, the camera view shows on the screen. Parking gets easier with the larger view.
You can set up the wireless connection in minutes. You do not need extra modules. The Android screen handles everything with its built-in parts. Your daily drive now has modern phone connection, and you still have all factory controls.
BMW X1 E84 Upgrade Guide: Testing and Troubleshooting
Your new hardware is installed. Now check every part of the system.
Test Main Functions and CarPlay
Begin with the screen. Touch the Android display to check response. Swipe through main pages to test multi-touch. Next, check audio. Play music in Android mode and raise the volume.
Pair your iPhone for wireless Apple CarPlay. Ask Siri a question to test the microphone. Press the steering wheel buttons. The volume, track skip, and voice command buttons must work. The iDrive controller should scroll and choose items without lag. Then run this checklist:
Go to the Car-info section. Make sure the original menu shows up. If not, set the right Car type in the factory setup menu. Use your display model's password.
If the original menu still does not show up, look at the LVDS cable connection behind the new screen. This cable carries the original video signal.
Check the sound in Android mode by playing music or video. If you hear nothing, pick AUX, USB, or USB/AUX in the original menu. Then go back to Android mode.
For cars with an optical amplifier, make sure the optical cables moved from the factory radio head unit to the new Android power cable.
For CIC models, check the AUX cable connection.
Fix Common Installation Problems
Most problems show up after the first boot. If no power, check the wiring harness and battery.
A loose harness can make the display blank. If it is blank, check the monitor connections. If the harness is loose, the iDrive knob stops working.
Issue | Recommended Fixes |
|---|---|
Host has no power | Make sure the wiring harness is connected correctly; check that the battery works. |
Bluetooth connection issues | Turn on Bluetooth on the phone; restart the console and the phone. |
Display issues (blank or not normal) | Check the monitor connections; make sure the head unit matches the car's display. |
CarPlay drops usually happen because of phone settings. Turn Bluetooth off and on again. Restart the console and the phone. This install keeps all original cables. You can undo it anytime.
You now have a clear path to modernize your BMW X1 E84 screen upgrade. The 10.25-inch android screen gives you wireless Apple CarPlay, Android Auto, and MirrorLink. Your factory joystick, steering wheel controls, and door warnings still work. This upgrade uses the original car cables. You do not cut wires or change vehicle coding. That makes it a smart investment for your X1 E84.
Follow each installation and testing step carefully. Check every connection before you close the dashboard. If you meet any problems, share your questions in the comments section below. Your new screen will change your daily drive.
FAQ
Does this upgrade work with my 2012 BMW X1?
You need the CIC system for this upgrade. Check your display for a red highlight border when you select menu items. Your head unit should have one CD/DVD slot. Send photos of your screen and connector to Leadsign for verification before you order.
How long does the installation take?
You can finish the full bmw x1 e84 screen upgrade in about one hour. The removal stage takes roughly thirty minutes. The new screen and wiring install takes another twenty minutes. Add extra time for testing and pairing your phone.
Will I lose my factory radio and steering wheel controls?
No. The android screen keeps all original functions. Your radio, amplifier, iDrive controller, and steering wheel buttons work normally. Door open warnings still appear. The system uses the original car cables without cutting or splicing.
What if my screen stays blank after installation?
A blank screen usually means a loose connection. Check the harness behind the display. Make sure the LVDS cable sits firmly in place. Verify the monitor connections. Restart the system and check the battery voltage.
Can I use my existing reversing camera?
Yes. The new display works with both original and aftermarket reversing cameras. When you shift into reverse, the camera view appears on the larger screen. This feature makes parking easier with a wider, clearer view.
See Also
Upgrade Your Audi A4 B8 With 3G MMI+ CarPlay Screen
BMW X5 And X6 E70 E71 CCC Screen Upgrade Guide
Wireless CarPlay Retrofit For BMW Interface Upgrade Solutions